Implementing Laravel User Authentication Tutorial With Code Examples
Posted July 22, 2023
In this article, we will implement authentication on a Laravel project while using a LoginRadius Sdk.
Prerequisites
To continue in this article, it is helpful to have the following:
- PHP Installed on your computer.
- Composer installed on your computer.
- Basic knowledge of working with Laravel.
- Basic knowledge of sending CURL requests in PHP.
Setting up a LoginRadius account
To use LoginRadius with Laravel, you need LoginRadius credentials, such as an API key and an API secret. To get this information proceed to the LoginRadius authentication page and create an account with LoginRadius.
Once authenticated, you will be directed to the LoginRadius dashboard:
-
Create a new app from here.
-
Enter an application name, and ensure that it is specific.
-
For the URL, enter
http://localhost. -
Select the nearest region from where you are based on the options. Then submit.
-
Once the account has been created, you will be able to access your
APP NAME,API KEY,API SECRETfrom here. The APP NAME API KEY, API SECRET will be needed in later steps.
Setting up Laravel project
Let’s dive in and use LoginRadius with Laravel. Proceed to your preferred working directory. Then download the Laravel installer using composer:
composer global require "laravel/installer"
Run the following command from your terminal to bootstrap the application:
laravel new login_radius_auth
Change directory to the newly created folder:
cd login_radius_auth
After the installation has been done, start the development server by running:
php artisan serve
On the default port , i.e. 8000, the below default page will be loaded:
The server is ready to execute the Laravel authentication code.
Installing packages for Laravel
The LoginRadius package will be useful in creating SOTT (Secure One Time Token) using Laravel.
To install it, open a new tab on the terminal, ensure you are on the project directory and run the below command:
composer require loginradius/php-sdk:11.4.0
Implementing signup via LoginRadius
Create Signup routes
Navigate to the routes/web.php file and add a route for the register endpoint as below:
Route::get('/register',function () {
    return view('register');
});
Create a post handler for registering users inside the routes/web.php file:
Route::post('/register','AuthController@register');
Create SignUp View
Inside the resources/views/register.blade.php file, create a view for signup:
<!DOCTYPE html>
<html lang="{{ str_replace('_', '-', app()->getLocale()) }}">

<head>
    <meta charset="utf-8">
    <meta name="viewport" content="width=device-width, initial-scale=1">

    <title>Register</title>

    <!-- Fonts -->
    <link href="https://fonts.googleapis.com/css2?family=Nunito:wght@200;600&display=swap" rel="stylesheet">
    <link href="https://cdn.jsdelivr.net/npm/bootstrap@5.2.1/dist/css/bootstrap.min.css" rel="stylesheet"
        integrity="sha384-iYQeCzEYFbKjA/T2uDLTpkwGzCiq6soy8tYaI1GyVh/UjpbCx/TYkiZhlZB6+fzT" crossorigin="anonymous">
    <!-- Styles -->
    <style>
        html,
        body {
            background-color: #fff;
            color: #636b6f;
            font-family: 'Nunito', sans-serif;
            font-weight: 200;
            height: 100vh;
            margin: 0;
        }
    </style>
</head>

<body>
    <nav class="navbar navbar-expand-lg navbar-light bg-light">
        <div class="container">
            <a class="navbar-brand" href="#">MyApp</a>
            <div class="collapse navbar-collapse" id="navbarSupportedContent">
                <ul class="navbar-nav mr-auto">
                    <li class="nav-item active">
                        <a class="nav-link" href="/">Dashboard</a>
                    </li>
                </ul>
                <ul class="navbar-nav mx-auto">
                    <li class="nav-item">
                        <a class="nav-link" href="/login">Login</a>
                    </li>
                </ul>
            </div>
        </div>
    </nav>

    <div class="container">
        @if (isset($status))
        <div class="alert alert-info">
            {{ $status ?? ''}}
        </div>
        @endif
        <div class="px-4 mt-5 mb-5">
            <div class="row gx-5">
                <div class="mx-auto" style="width:50%">
                    @if (isset($validation_error))
                    <div class="alert alert-danger">
                        {{ $validation_error ?? ''}}
                    </div>
                    @endif
                    <div class="p-3 border bg-light text-center">
                        <form action="{{url('register')}}" method="post">
                            @csrf
                            <div class="form-group mb-4 mt-2">
                                <input type="text" name="first_name" placeholder="First Name" class="form-control" />
                            </div>
                            <div class="form-group mb-4 mt-2">
                                <input type="text" name="middle_name" placeholder="Middle Name" class="form-control" />
                            </div>
                            <div class="form-group mb-4 mt-2">
                                <input type="text" name="last_name" placeholder="Last Name" class="form-control" />
                            </div>
                            <div class="form-group mb-4 mt-2">
                                <input type="email" name="email" placeholder="Your Email" class="form-control" />
                            </div>
                            <div class="form-group mb-4 mt-2">
                                <input type="password" name="password" placeholder="Your password"
                                    class="form-control" />
                            </div>
                            <div class="form-group mb-4 mt-2">
                                <button type="submit" class="btn btn-outline-success btn-block">Submit</button>
                            </div>
                        </form>
                    </div>
                </div>
            </div>
        </div>
    </div>
    </div>
</body>

</html>
From the above, you have a signup form with first name, last name, middle name, email, and password fields.
Set up the Signin AuthController
Create the AuthController in the app/Http/Controllers/AuthController.php file as follows:
<?php
namespace App\Http\Controllers;

use App\Http\Controllers\Controller;
use Illuminate\Http\Request;

// loginradius.
use \LoginRadiusSDK\Utility\SOTT;
use \LoginRadiusSDK\CustomerRegistration\Account\SottAPI;


// defining global variables.
define('APP_NAME', 'your_app_name'); // replace with your app name
define('LR_API_KEY', 'your_api_key'); //replace with your api key
define('LR_API_SECRET', 'your_api_secret'); // replace with your api secret

define('API_REQUEST_SIGNING', TRUE);

class AuthController extends Controller {

}
Inside the AuthController :
- Define a function for generating SOTT(Secure One Time Token):
public function generateSott(){
    $timeDifference ='';
    $getLRserverTime=false;
    $apiKey="your_api_key";
    $apiSecret="your_api_secret";
    $sottObj = new SOTT();
    $sott = $sottObj->encrypt($timeDifference,$getLRserverTime,$apiKey,$apiSecret);
    return $sott;
}
- Define the function for handling the signup:
public function register(Request $request){
    $sott = $this->generateSott();
    $apiKey = "your_api_key";
    $full_name = $request->first_name.' '.$request->middle_name.' '.$request->last_name;
    $postfields = '{
        "FirstName": "'.$request->first_name.'",
        "MiddleName": "'.$request->middle_name.'",
        "LastName": "'.$request->last_name.'",
        "FullName": "'.$full_name.'",
        "Email": [
        {
            "Type": "Primary",
            "Value": "'.$request->email.'"
        }
        ],
        "Password": "'.$request->password.'"
    }';
    $url = "https://api.loginradius.com/identity/v2/auth/register?apikey=".$apiKey;
    $ch = curl_init();
    curl_setopt($ch,CURLOPT_URL,$url);
    curl_setopt($ch,CURLOPT_POST, true );
    curl_setopt($ch,CURLOPT_RETURNTRANSFER,true);
    curl_setopt($ch,CURLOPT_SSL_VERIFYPEER,0);
    curl_setopt($ch,CURLOPT_HTTPHEADER, array('Content-Type: application/json','X-LoginRadius-Sott: '.$sott));
    curl_setopt($ch,CURLOPT_POSTFIELDS, $postfields);
    $err = curl_error($ch);
    $status_code = curl_getinfo($ch, CURLINFO_HTTP_CODE);
    $output=curl_exec($ch);
    curl_close($ch);
    if($err){
        // redirect to register with the error...
        return view('register')->with('validation_error',$err);
    }else{
        $res = json_decode($output);
        if($res){
            // check status code.
            if(!isset($res->ErrorCode)){
                // set the access token and the user.
                session([
                    'access_token' => $res->Data->access_token,
                    'logged_in_user' => $res->Data->Profile
                ]);
                // redirect to the dashboard page.
                return redirect('dashboard')->with('status', 'Account created successfully');
            }else{
                // redirect to register with the error...
                return view('register')->with('validation_error',$res->Message);
            }
        }else{
            // redirect to register with the error...
            return view('register')->with('validation_error','Could not decode message from server');
        }
    }
}
From above, you are:
- Getting the data from the form.
- Sending a registration request to LoginRadius using its API endpoint.
- Error check. If there is no error, redirect to the dashboard page, and send the error to the registration page. Therefore, create a Dashboard in the next step
Create Redirect Dashboard Page
Once a user is successfully registered, they can access information on the application. In this example, an authenticated user will be redirected to a dashboard page. To create this page, first, create a dashboard page route. This will form a protected path that only authenticated users can access. Inside the routes/web.php, create this route as follows:
Route::get('/dashboard',function () {
    $loggedInUser = session('logged_in_user');
    if($loggedInUser){
        $user = array(
            'name' => $loggedInUser->FullName
        );
        return view('dashboard')->with('user',$user);
    }else{
        return redirect('login')->with('status', 'You must be logged in.');
    }
});
Then create the dashboard page view inside the resources/views/dashboard.blade.php file:
<!DOCTYPE html>
<html lang="{{ str_replace('_', '-', app()->getLocale()) }}">

<head>
    <meta charset="utf-8">
    <meta name="viewport" content="width=device-width, initial-scale=1">

    <title>Dashboard</title>

    <!-- Fonts -->
    <link href="https://fonts.googleapis.com/css2?family=Nunito:wght@200;600&display=swap" rel="stylesheet">

    <!-- Styles -->
    <!-- CSS only -->
    <link href="https://cdn.jsdelivr.net/npm/bootstrap@5.2.1/dist/css/bootstrap.min.css" rel="stylesheet"
        integrity="sha384-iYQeCzEYFbKjA/T2uDLTpkwGzCiq6soy8tYaI1GyVh/UjpbCx/TYkiZhlZB6+fzT" crossorigin="anonymous">
    <style>
        html,
        body {
            background-color: #fff;
            color: #636b6f;
            font-family: 'Nunito', sans-serif;
            font-weight: 200;
            height: 100vh;
            margin: 0;
        }
    </style>
</head>

<body>
    <nav class="navbar navbar-expand-lg navbar-light bg-light">
        <div class="container">
            <a class="navbar-brand" href="#">MyApp</a>
            <div class="collapse navbar-collapse" id="navbarSupportedContent">
                <ul class="navbar-nav mr-auto">
                    <li class="nav-item active">
                        <a class="nav-link" href="/">Dashboard</a>
                    </li>
                </ul>
                <ul class="navbar-nav mx-auto">
                    <li class="nav-item">
                        <a class="nav-link" href="/logout">Logout</a>
                    </li>
                </ul>
            </div>
        </div>
    </nav>
    <div class="container">
        @if (isset($status))
        <div class="alert alert-info">
            {{ $status ?? ''}}
        </div>
        @endif

        <div class="px-4 mt-5 mb-5">
            <div class="row gx-5">
                <div class="col">
                    <div class="p-3 border bg-light text-center">
                        <h5>Hello {{$user['name']}},</h5>
                    </div>
                </div>
                <div class="col">
                    <div class="p-3 border bg-light">
                        <h5 class="text-center">About Us</h5>
                        <p class="text-left">
                        Enter a sample content here
                        </p>
                    </div>
                </div>
            </div>
        </div>
    </div>
</body>

</html>
From above, you are showing the logged-in user’s name and some dummy text. This is the route that an authenticated user can access.
Create logout funtionality
Once a user has access to expected routes, you can add logout functionality to signout out the user. Create a logout page route from routes/web.php:
Route::get('/logout',function(){
// clear the session...
    session([
        'access_token' => null,
        'logged_in_user' => null
    ]);
    // redirect to login page...
    return redirect('login');
});
Once a user signs out, the app should redirect to a login page that will allow the user to sign again.
Testing the SignIn endpoint
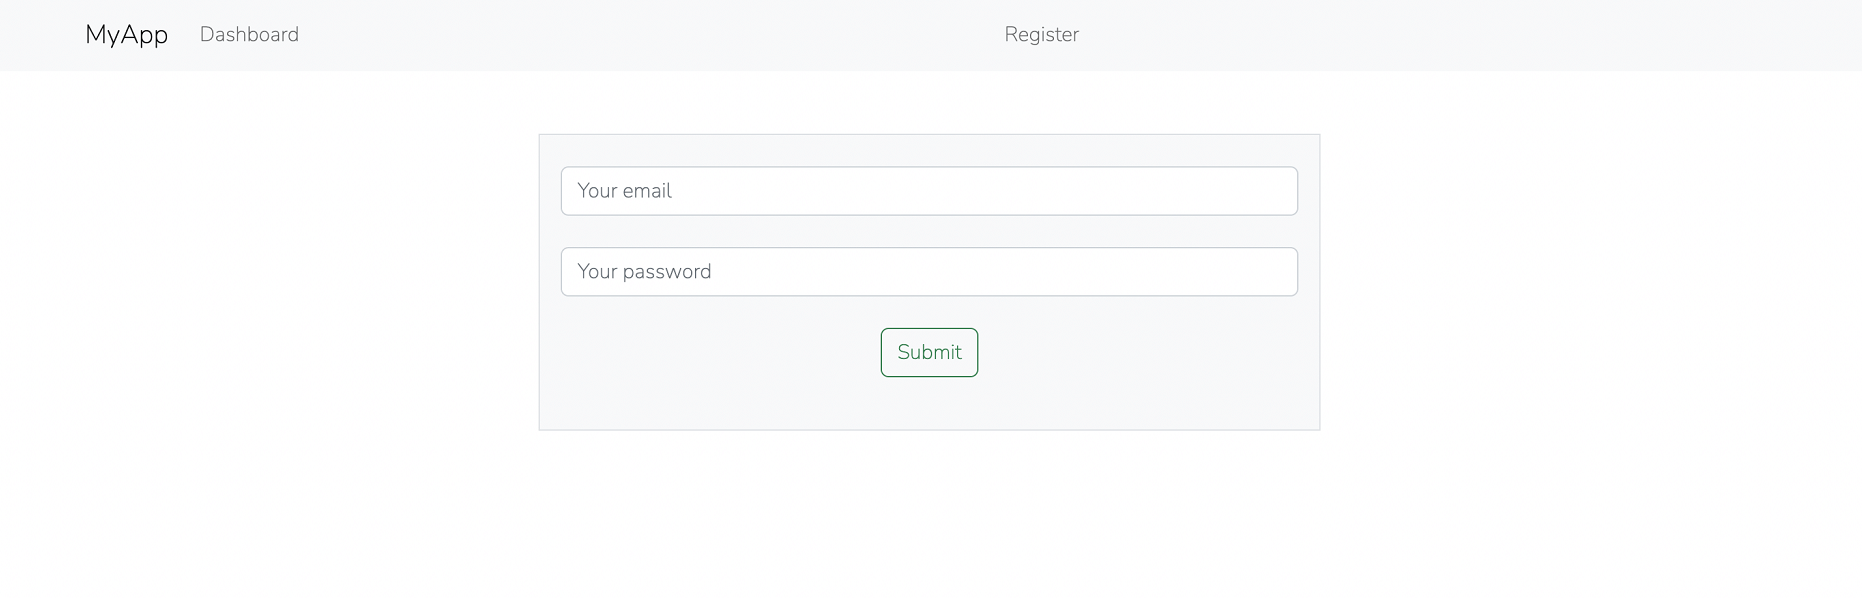
To test the functionality, go to http://localhost:8000/register. You will be presented with such a view:
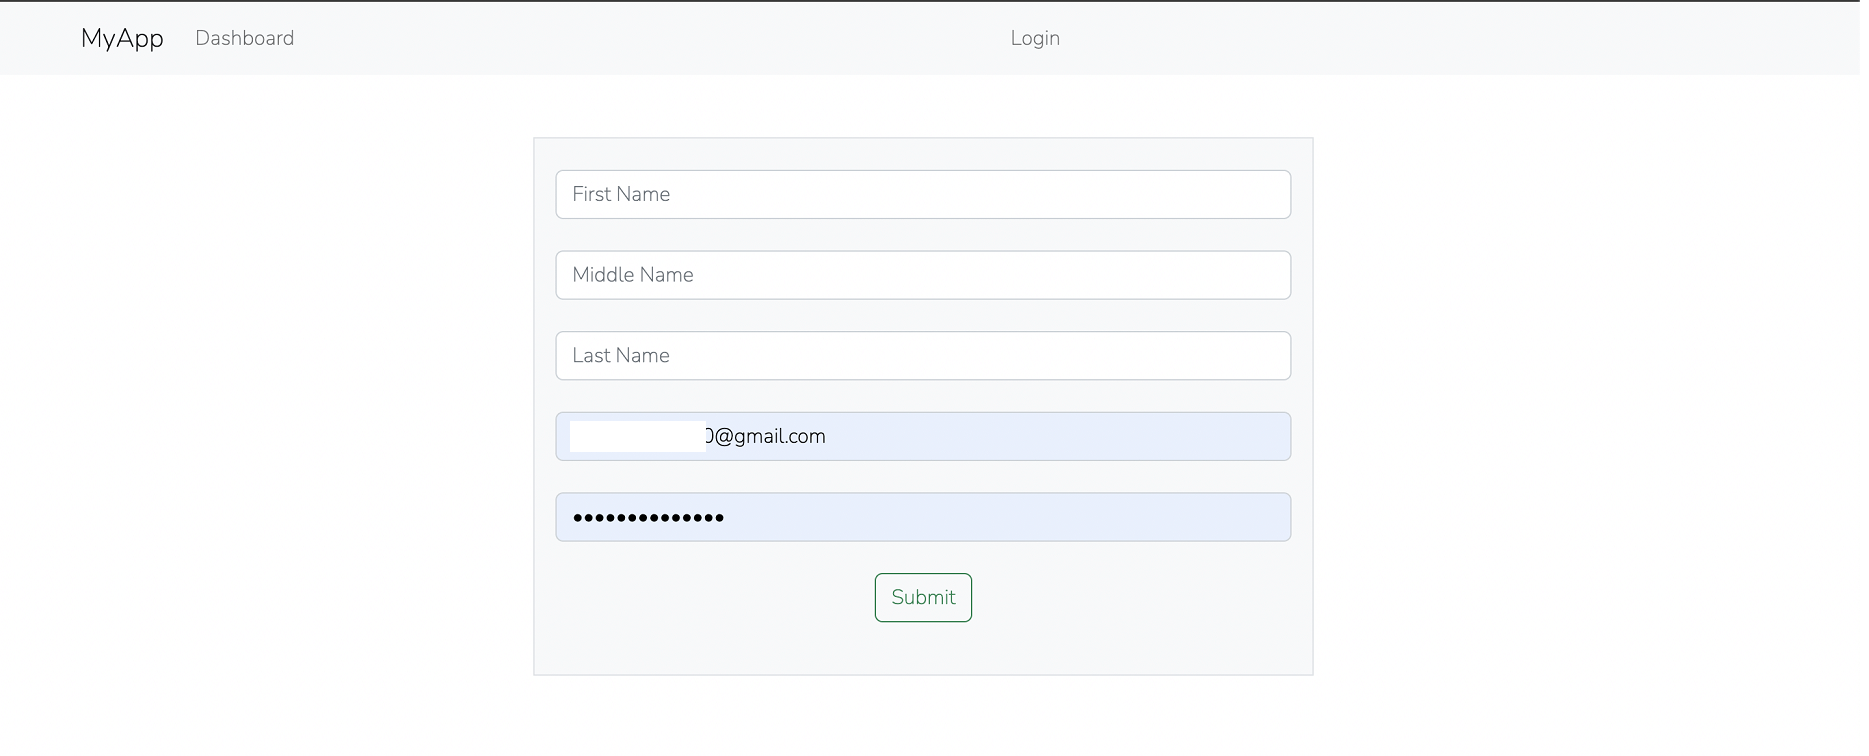
Fill in the form and click submit.
In case there are any form errors, they will be shown, else you will be directed to the dashboard page:
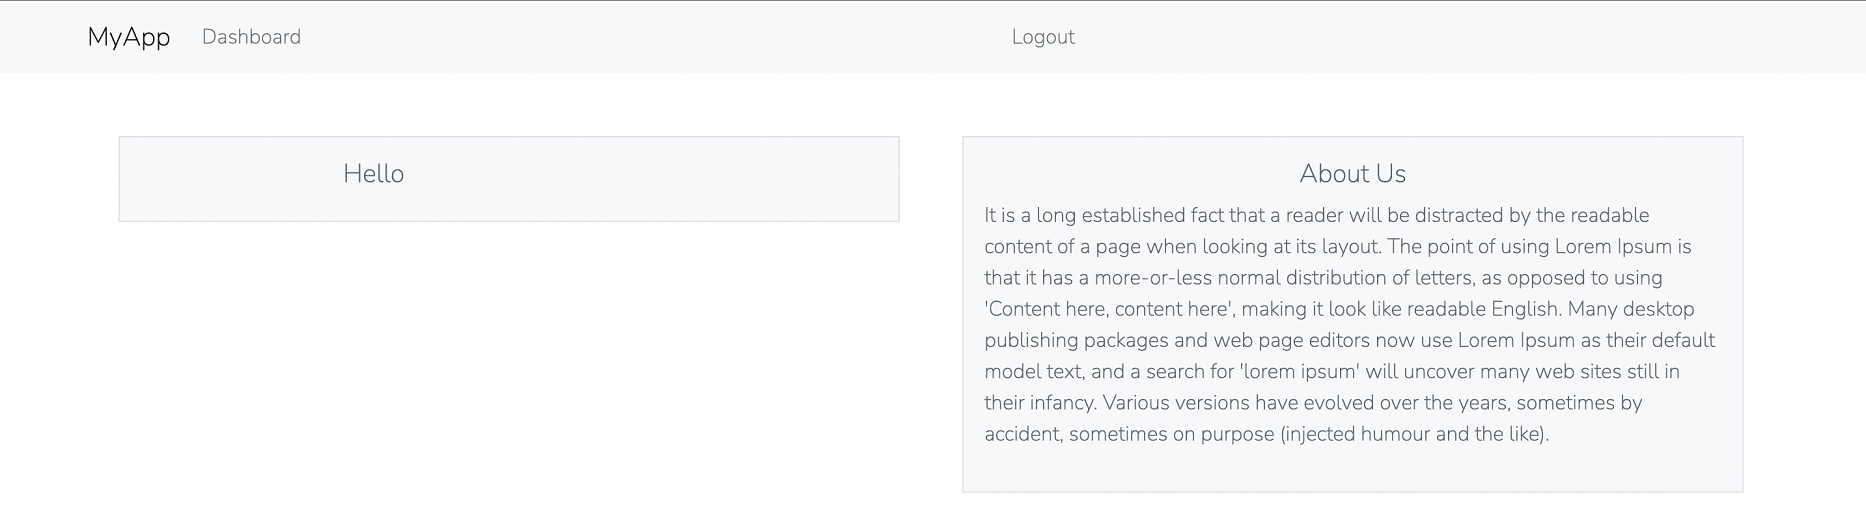
At this time, if you click logout, you will get a URL not found error because we have not worked on the login route. Let’s do that in the next step.
Implementing login
Define the login routes for both GET and POST in the routes/web.php file:
Route::get('/login',function () {
    return view('login');
});

Route::post('/login','AuthController@login');
Create the login view inside the resources/views/login.blade.php file:
<!DOCTYPE html>
<html lang="{{ str_replace('_', '-', app()->getLocale()) }}">

<head>
    <meta charset="utf-8">
    <meta name="viewport" content="width=device-width, initial-scale=1">

    <title>Login</title>

    <!-- Fonts -->
    <link href="https://fonts.googleapis.com/css2?family=Nunito:wght@200;600&display=swap" rel="stylesheet">
    <link href="https://cdn.jsdelivr.net/npm/bootstrap@5.2.1/dist/css/bootstrap.min.css" rel="stylesheet"
        integrity="sha384-iYQeCzEYFbKjA/T2uDLTpkwGzCiq6soy8tYaI1GyVh/UjpbCx/TYkiZhlZB6+fzT" crossorigin="anonymous">
    <!-- Styles -->
    <style>
        html,
        body {
            background-color: #fff;
            color: #636b6f;
            font-family: 'Nunito', sans-serif;
            font-weight: 200;
            height: 100vh;
            margin: 0;
        }
    </style>
</head>

<body>
    <nav class="navbar navbar-expand-lg navbar-light bg-light">
        <div class="container">
            <a class="navbar-brand" href="#">MyApp</a>
            <div class="collapse navbar-collapse" id="navbarSupportedContent">
                <ul class="navbar-nav mr-auto">
                    <li class="nav-item active">
                        <a class="nav-link" href="/">Dashboard</a>
                    </li>
                </ul>
                <ul class="navbar-nav mx-auto">
                    <li class="nav-item">
                        <a class="nav-link" href="/register">Register</a>
                    </li>
                </ul>
            </div>
        </div>
    </nav>

    <div class="container">
        @if (isset($status))
        <div class="alert alert-info">
            {{ $status ?? ''}}
        </div>
        @endif
        <div class="px-4 mt-5 mb-5">
            <div class="row gx-5">
                <div class="mx-auto" style="width:50%">
                    @if (isset($validation_error))
                    <div class="alert alert-danger">
                        {{ $validation_error ?? ''}}
                    </div>
                    @endif
                    <div class="p-3 border bg-light text-center">
                        <form action="{{url('login')}}" method="post">
                            @csrf
                            <div class="form-group mb-4 mt-2">
                                <input type="email" name="email" placeholder="Your email" class="form-control" />
                            </div>
                            <div class="form-group mb-4 mt-2">
                                <input type="password" name="password" placeholder="Your password"
                                    class="form-control" />
                            </div>
                            <div class="form-group mb-4 mt-2">
                                <button type="submit" class="btn btn-outline-success btn-block">Submit</button>
                            </div>
                        </form>
                    </div>
                </div>
            </div>
        </div>
    </div>
    </div>
</body>

</html>
From above, we are presenting a form with the email and password fields.
Adding the login AuthController
Implement the login handler from the AuthController as follows:
public function login(Request $request){
    // send curl request.
    $apiKey = "cac62d1b-e996-439f-97dc-21ba17c19582";
    $postfields = json_encode(array(
        'email' => $request->email,
        'password' => $request->password
    ));
    $url = "https://api.loginradius.com/identity/v2/auth/login?apikey=".$apiKey;
    $ch = curl_init();
    curl_setopt($ch,CURLOPT_URL,$url);
    curl_setopt($ch,CURLOPT_POST, true );
    curl_setopt($ch,CURLOPT_RETURNTRANSFER,true);
    curl_setopt($ch,CURLOPT_SSL_VERIFYPEER,0);
    curl_setopt($ch,CURLOPT_HTTPHEADER, array('Content-Type: application/json'));
    curl_setopt($ch,CURLOPT_POSTFIELDS, $postfields);

    $err = curl_error($ch);
    $status_code = curl_getinfo($ch, CURLINFO_HTTP_CODE);
    $output=curl_exec($ch);
    curl_close($ch);

    if($err){
        // set an error,,,
        return view('login')->with('validation_error',$err);
        }else{
        $res = json_decode($output);
        if($res){
            // check status code.
            if($status_code == 0){
                // set the access token and the user.
                session([
                    'access_token' => $res->access_token,
                    'logged_in_user' => $res->Profile
                ]);
                // redirect to the dashboard page.
                return redirect('dashboard')->with('status','Logged in successfully');
            }else{
                // set the error.
                return view('login')->with('validation_error',$res->Message);
                }
            }
        else{
            return view('login')->with('validation_error',$res->Message);
        }
    }

}
From above, we are:
- Getting the data from the form.
- Sending a request to the LoginRadius API for login.
- Error check. If any error results, it is shown on the login form, else the user is redirected to the dashboard page.
Testing login route
To test the functionality, go to http://localhost:8000/login. You will be presented with such a view:
After successfully logging in, you will be presented to the dashboard page as in the previous step.
You can manage the users from your LoginRadius dashboard page.
References
More Related Articles:
-

Using Prisma ORM with Node.js and PostgreSQL
Prisma is a Node.js and typescript ORM. an ORM that means Object Relational Mapping tool that can communicate with databases such as MongoDB, MySQL
Jul 29, 2023
-

Guide to Creating CRUD APIs in Flask
Flask is a web framework for building web applications using Python. It is known for its lightweight and simple design. This makes it easy to get
Jul 28, 2023
-
How to Create React Apps With Node.js Express Server
React is a JavaScript-based framework for building fast and interactive UIs for mobile and web apps. Currently, it’s the most popular JavaScript
Jul 27, 2023
-
The Definitive Guide on Creating GrapgQL APIs Using Golang
GraphQL is a query language and runtime designed to create APIs as an alternative to REST API architectures. The significant advantage of GraphQL is
Jul 20, 2023