A Definitive Guide - How to use Local Storage using JavaScript
Posted July 19, 2023
Local storage is a web storage approach that allows you to store web app data and access it on the client’s browser. Any data stored using local storage is only accessible to the domain that stores it. The data remains available even after the browser is closed. Basically, local storage uses a key-value store to save data and then retrieve that data later by using the same key used to save the data.
Local storage stores small amounts of data that need to persist even after the browser is closed. Some data that you can save and access using local storage include user preferences and shopping cart information. This article will help you will understand how to use local storage in JavaScript by building a simple notes application. This article assumes you have prior experience working with JavaScript.
Setting up the Home Page View
First, create a working directory for your project. On your working directory, create an index.html file. Let’s build the application skeleton that we will use to interact with local storage and JavaScript.
In your index.html, add the basic view as follows:
<!DOCTYPE html>
<html lang="en">
<head>
    <meta charset="UTF-8">
    <meta http-equiv="X-UA-Compatible" content="IE=edge">
    <meta name="viewport" content="width=device-width, initial-scale=1.0">
    <title>Notes App</title>
</head>
<body>
</body>
</html>
Add a navigation bar inside your above body tags:
<div class="navbar">
    <nav>
        <div class="navbar-brand">
            <a href="/">Notes App</a>
        </div>
        <div class="navbar-links">
            <ul>
                <li>
                    <a href="/">Notes</a>
                </li>
                <li>
                    <a href="/add-note.html">Add Note</a>
                </li>
            </ul>
        </div>
    </nav>
</div>
Below the above nav bar, add a notes section as follows:
<div class="notes-container">
    <h4>Notes</h4>
    <div class="notes-content">
        <div class="notes-alert" id="notes-alert" ></div>
        <div id="notes-inner-content"></div>
    </div>
</div>
Link to the JavaScript file and style the navigation bar and the notes section:
<script src="app.js"></script>

<style>
    body{
        font-family: 'Segoe UI', Tahoma, Geneva, Verdana, sans-serif;
    }
    .navbar{
        width:100%;
        margin-bottom: 10px;
        padding:10px;
        border-bottom: 1px solid #d4d4d4;
    }
    .navbar nav{
        display: flex;
        justify-content: center;
        width: 100%;
    }
    .navbar .navbar-brand{
        width:30%;
    }
    .navbar .navbar-brand a{
        text-decoration: none;
        color: #000;
    }
    .navbar .navbar-links{
        width: 40%;
    }
    .navbar .navbar-links ul{
        display: flex;
        list-style-type: none;
        margin: 0px;
    }
    .navbar .navbar-links li{
        margin-right: 10px;
    }
    .navbar .navbar-links li a{
        text-decoration: none;
    }
    .notes-container{
        width: 50%;
        margin: 10px auto;
        font-weight: lighter;
    }
    .notes-content{
        width: 100%;
        margin:10px 0px;
    }
    .note-card{
        width: 100%;
        padding: 10px;
        border: 1px solid #d4d4d4;
    }
</style>
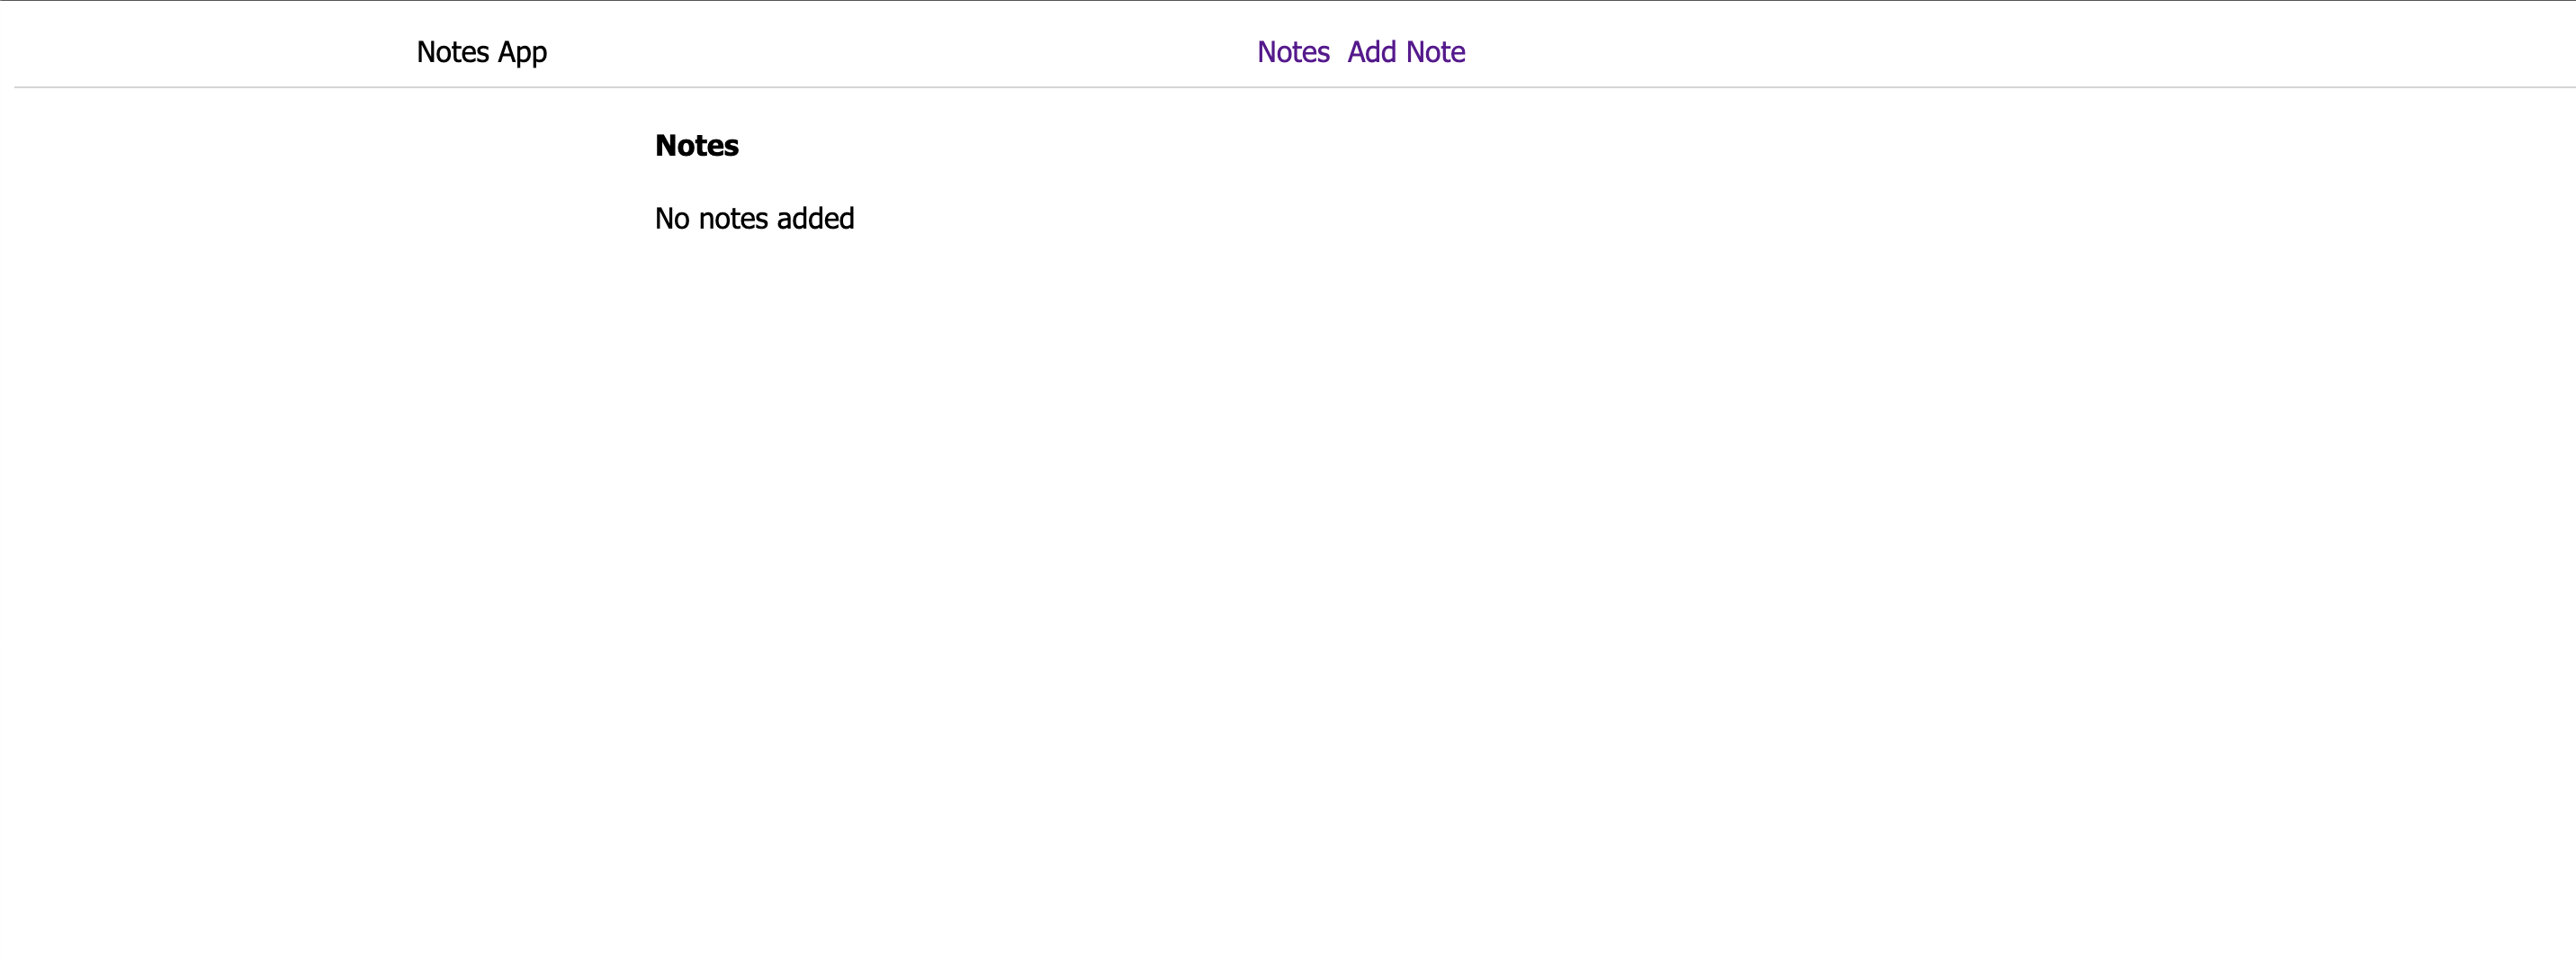
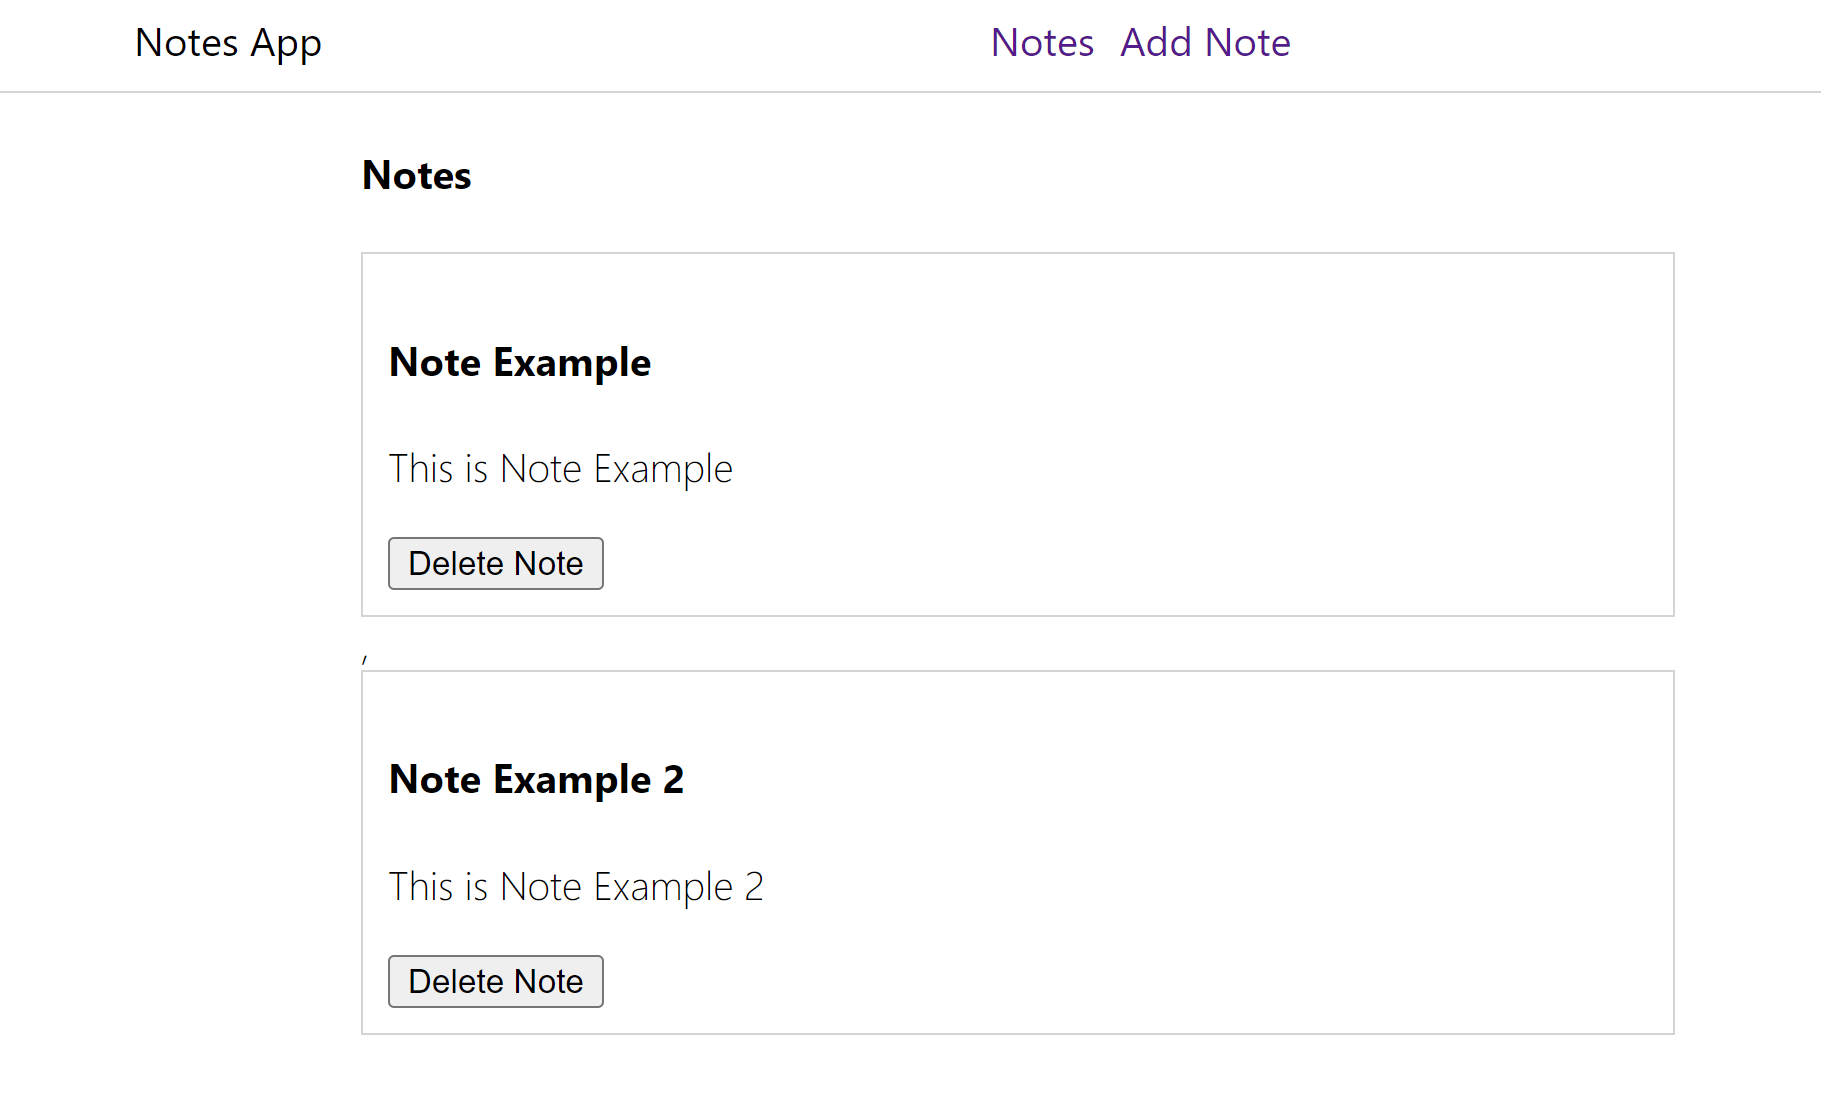
You should be able to have the following page up to this point:
Setting up Add Note Page View
We will use a basic form to add data to the local storage. Go ahead and create it as follows:
In your project directory, create an add-note.html. Inside the add-note.html file, create the basic view. This view will add a navigation bar inside the body. Below the navigation bar, add a form for adding notes as follows:
<!DOCTYPE html>
<html lang="en">
<head>
    <meta charset="UTF-8">
    <meta http-equiv="X-UA-Compatible" content="IE=edge">
    <meta name="viewport" content="width=device-width, initial-scale=1.0">
    <title>Add Note</title>
</head>
<body>
    <div class="navbar">
        <nav>
            <div class="navbar-brand">
                <a href="/">Notes App</a>
            </div>
            <div class="navbar-links">
                <ul>
                    <li>
                        <a href="/">Notes</a>
                    </li>
                    <li>
                        <a href="./add-note.html">Add Note</a>
                    </li>
                </ul>
            </div>
        </nav>
    </div>

    <div class="add-note-container">
        <form id="note_form">
            <div class="form-body" id="alert">

            </div>
            <div class="form-body">
                <label>Title</label>
                <input type="text" name="title" id="title" class="form-control" placeholder="Enter Title" required/>
            </div>
            <div class="form-body">
                <label>Description</label>
                <input type="text" name="description" id="description" class="form-control" placeholder="Enter Description" required/>
            </div>
            <div class="form-body">
                <button type="submit">Submit</button>
            </div>
        </form>
    </div>
</body>
</html>
Link the external JavaScript file and add a style for the navigation bar and the form elements:
<script src="./add-note.js"></script>

<style>
body{
    font-family: 'Segoe UI', Tahoma, Geneva, Verdana, sans-serif;
}
.navbar{
    width:100%;
    margin-bottom: 10px;
    padding:10px;
    border-bottom: 1px solid #d4d4d4;
}
.navbar nav{
    display: flex;
    justify-content: center;
    width: 100%;
}
.navbar .navbar-brand{
    width:30%;
}
.navbar .navbar-brand a{
    text-decoration: none;
    color: #000;
}
.navbar .navbar-links{
    width: 40%;
}
.navbar .navbar-links ul{
    display: flex;
    list-style-type: none;
    margin: 0px;
}
.navbar .navbar-links li{
    margin-right: 10px;
}
.navbar .navbar-links li a{
    text-decoration: none;
}
.add-note-container{
    width: 50%;
    margin: 10px auto;
}
.form-body{
    width: 100%;
    display: block;
}
.form-body label{
    width: 100%;
    display: block;
    margin: 10px;
}
.form-control{
    width:100%;
    margin:10px;
    padding:10px;
}
.form-body button{

    margin: 10px;
}
</style>
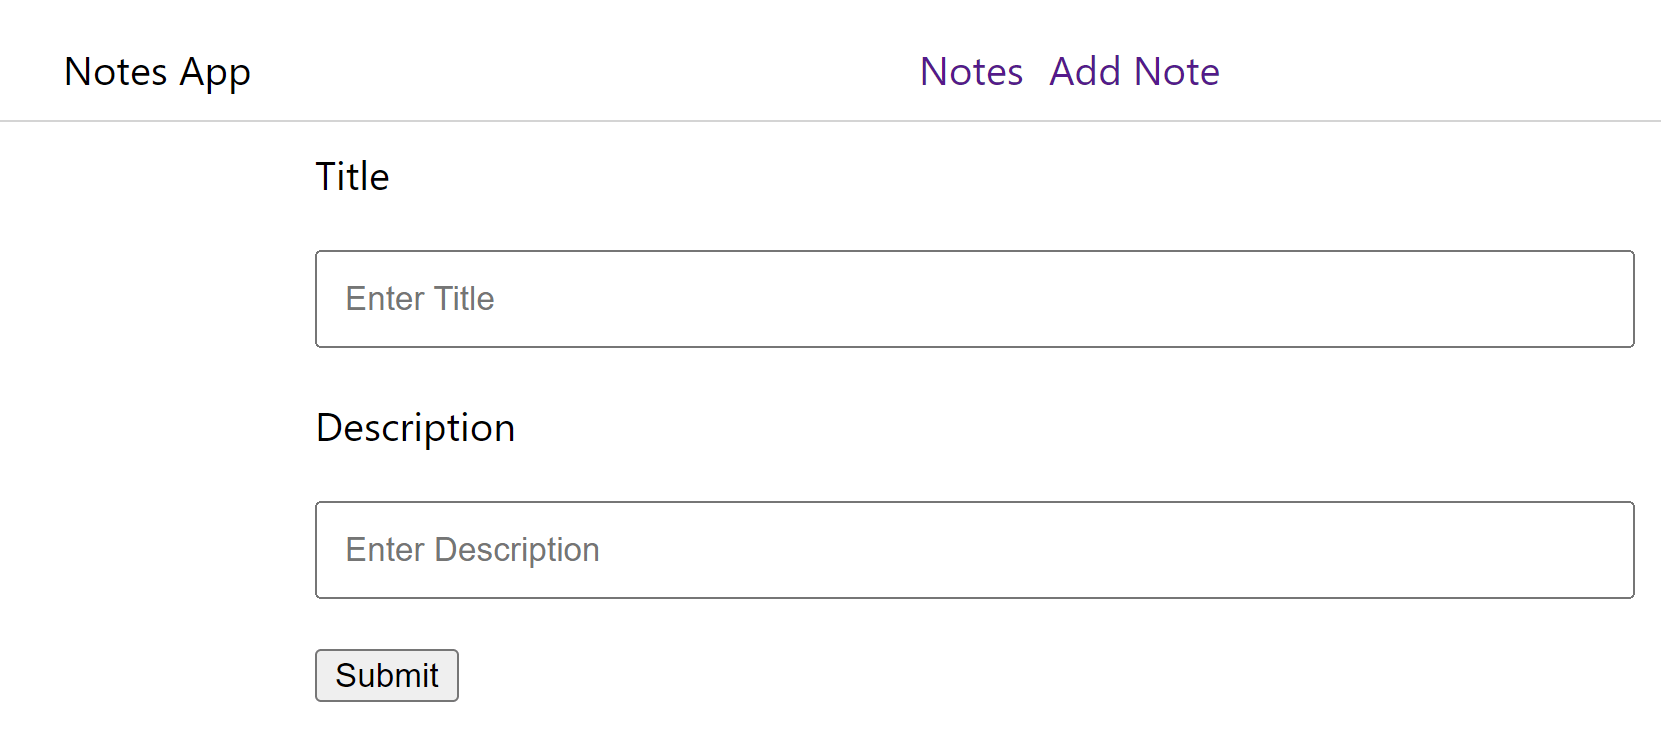
Clicking Add Note should display the following basic HTML form:
Let’s now dive in and demonstrate the local storage logic using this web page.
Adding Notes to Local Storage
This is where the concept of local storage comes in handy. JavaScript uses a built-in localStorage object to add data to the user browser. To add data, you need to specify local storage using the localStorage.setItem(key, value) method. Likewise, to get the data from the localStorage object, you need to use the localStorage.getItem(key) method. Here is how you can represent these methods in JavaScript
Create a add-note.js file and add a handler that will be executed when the add note form is submitted:
document.getElementById('note_form').addEventListener("submit",(e) => {
    e.preventDefault();
    let title = document.getElementById('title').value; // get the title
    let description = document.getElementById('description').value; // get the description
    if(title && description){ // got title and description
        let notes  = localStorage.getItem('notes');
        if(notes){
            // we already have notes
            notes = JSON.parse(notes);
            notes = [...notes,{
                title,
                description
            }];
            localStorage.setItem('notes',JSON.stringify(notes));
        }else{
            // no notes.
            let notes = JSON.stringify([{
                title,
                description
            }]);
            localStorage.setItem('notes',notes);
        }
        document.getElementById('title').value = "";
        document.getElementById('description').value = "";
        document.getElementById('alert').innerHTML = '<p>Note added successfully</p>';
    }
});
Here localStorage.getItem('notes') will check the key notes to fetch data available on local storage. Using localStorage.setItem('notes',notes), JavaScript will create a new object with the title and description to hold the added notes array on the local storage.
Let’s test this logic From your webpage to add a note using the form page:

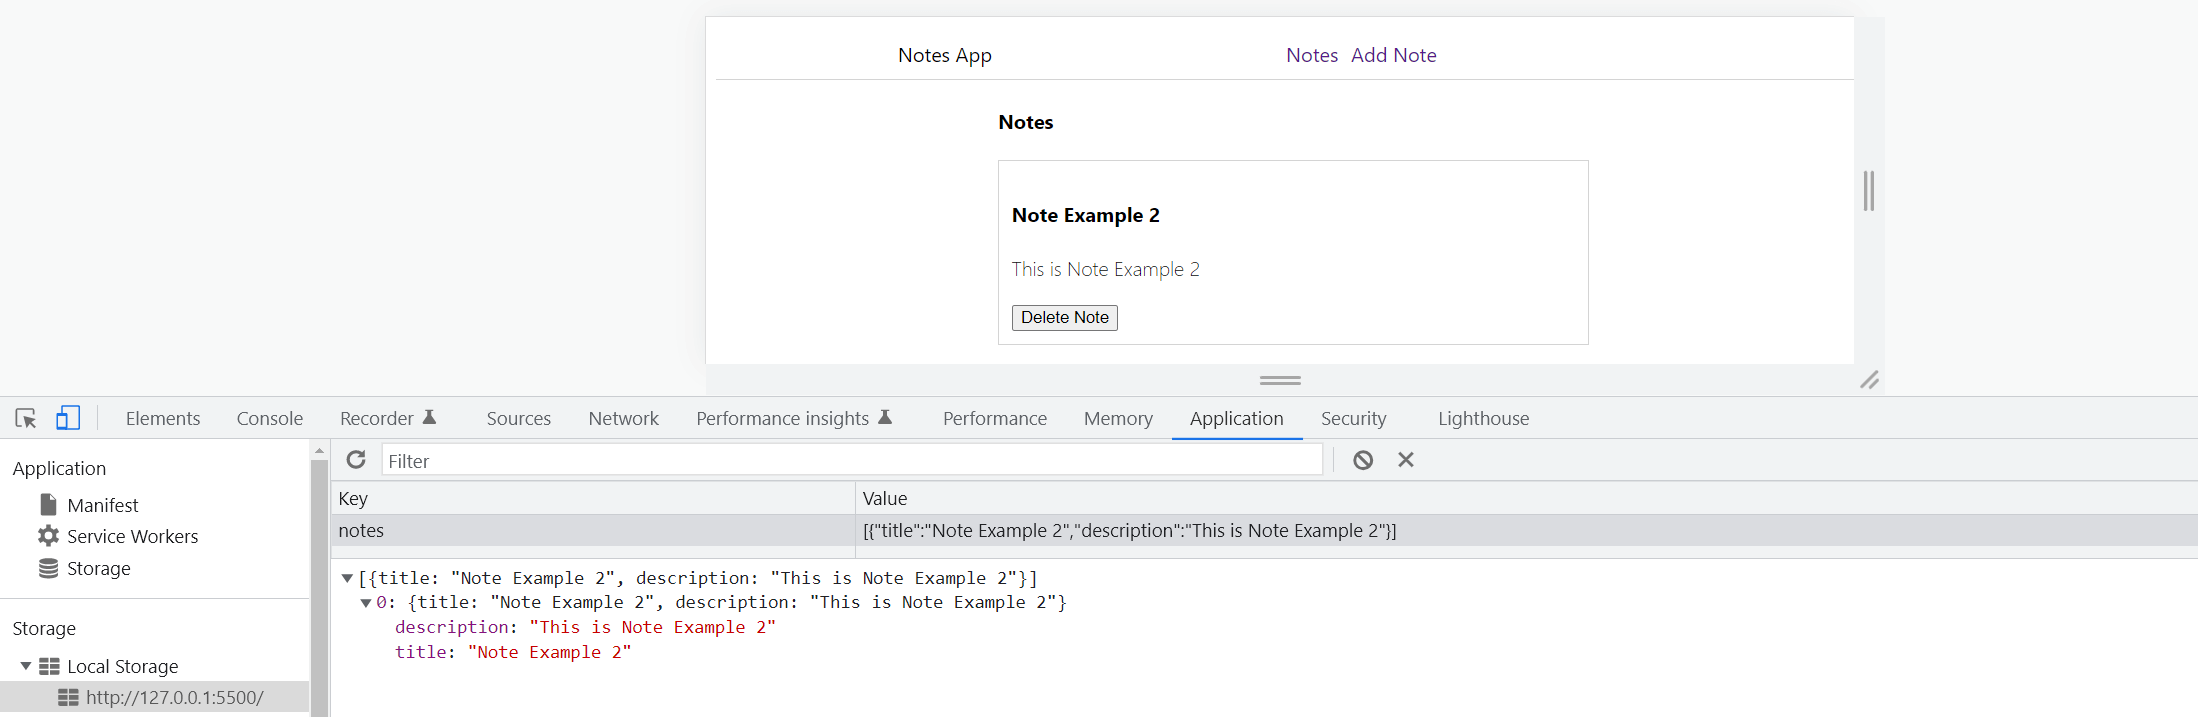
A note will be added successfully. This note should be available on the local storage of your browser. To check it, navigate to your browser inspect tool while still on the same page. Then navigate to the application’s local storage as follows:
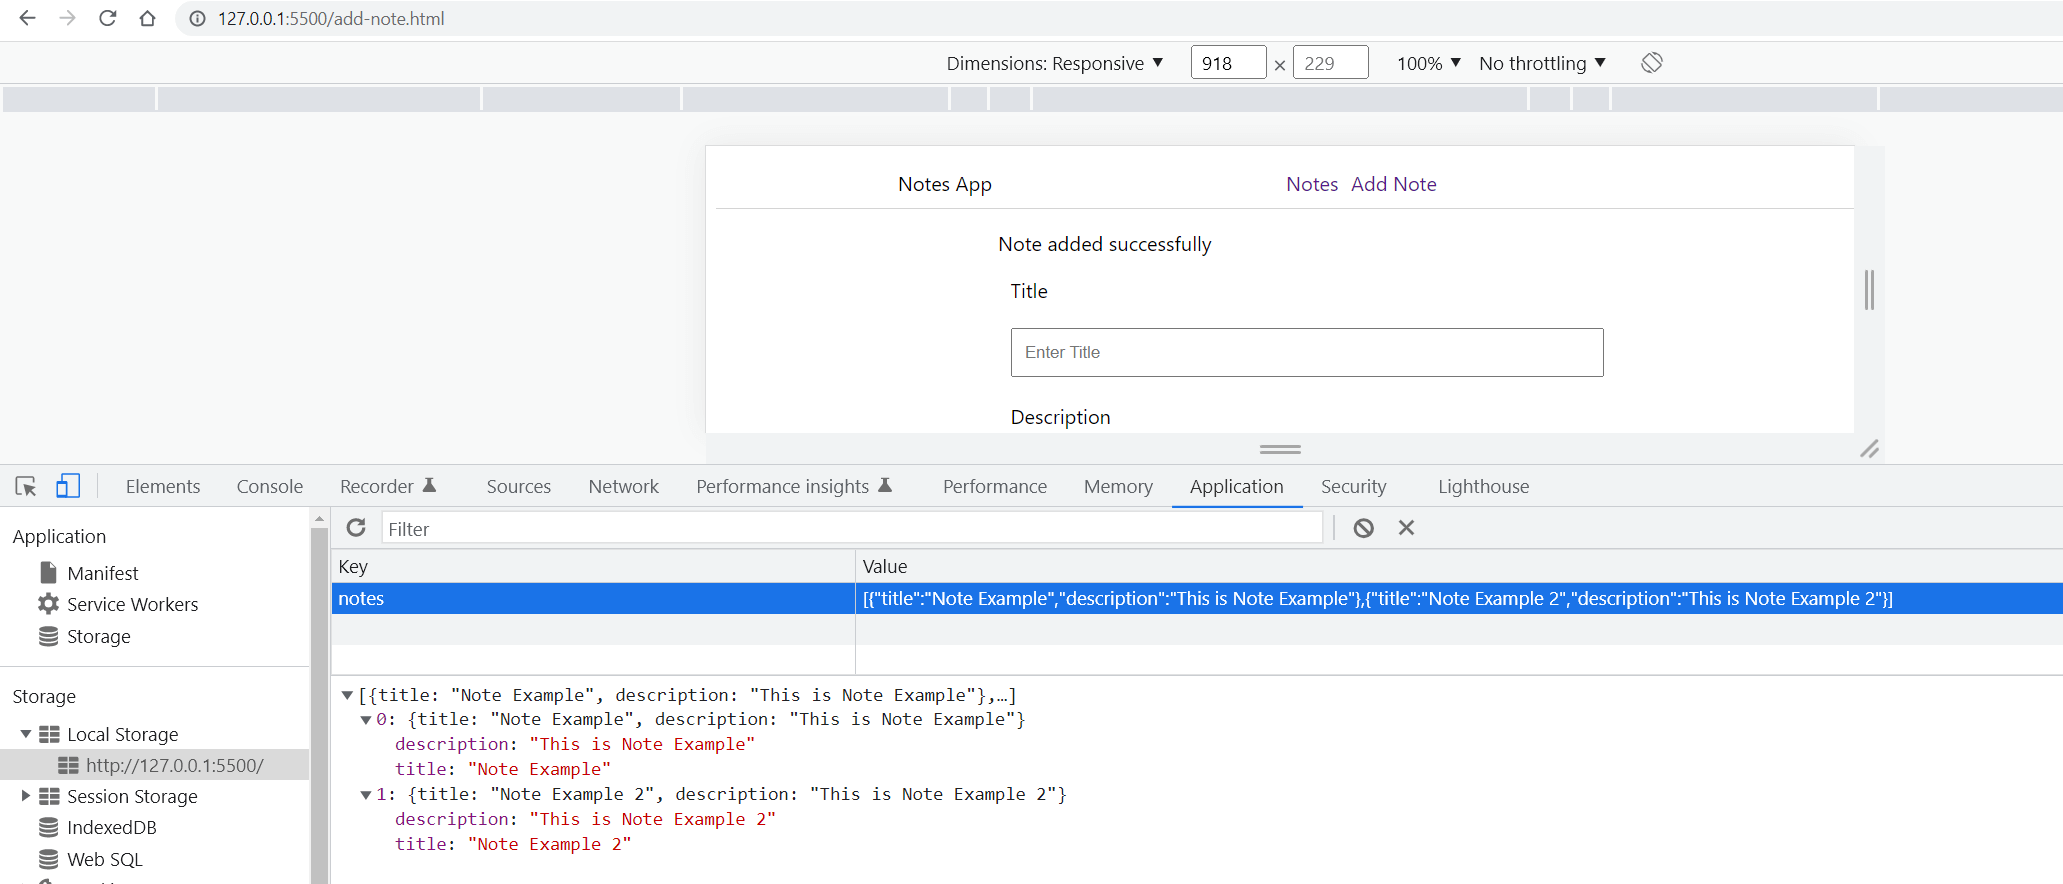
Indeed, the note you have added is available on the local storage. This item will remain available even if you refresh or close the browser.
Fetching notes from local storage
Using JavaScript, let’s fetch the data from the local storage and display it on the web page. To do that, create the app.js file and add the following changes:
- Get the notes from local storage:
let notes = localStorage.getItem('notes'); // get the notes string
notes = JSON.parse(notes); // parse the string
- Render the notes or an alert:
if(notes.length > 0){
    let html = '';
    html += notes.map((note,index) => (
        `<div class="note-card" key={index}>
            <h4>${note.title}</h4>
            <p>${note.description}</p>
            <button id="delete_note" type="button" onClick=deleteNote(${index})>Delete Note</button>
        </div>`
    ));
    document.getElementById('notes-inner-content').innerHTML = html;
}else{
    // show no notes.
    document.getElementById('notes-alert').innerHTML='<p>No notes added</p>';
}
Click the Notes to acces the home page. This should display the available notes as follows:
Deleting a note from Local Storage
Using the same approach, you delete the note and remove it from the local storage. In the app.js file, add a function for deleting a note as follows:
function deleteNote(index){
    let notes = localStorage.getItem('notes');
    notes = JSON.parse(notes);
    notes = notes.filter(note => notes.indexOf(note) !== index);
    localStorage.setItem('notes',JSON.stringify(notes));
    let html = '';
    if(notes.length > 0){
        html += notes.map((note,index) => (
            `<div class="note-card" key={index}>
                <h4>${note.title}</h4>
                <p>${note.description}</p>
                <button id="delete_note" type="button" onClick=deleteNote(${index})>Delete Note</button>
            </div>`
        ));
    }else{
        html += '<p>No notes added</p>';
    }

    document.getElementById('notes-inner-content').innerHTML = html;
}
From your webpage, once you Delete Note, the note you choose will be deleted from local storage.
Now that you have mastered How to use LocalStorage using JavaScript consider diving deeper and learn using JavaScript states for LocalStorage in this Comprehensive Guide to Vue.js State Management using Pinia. You will love it!
Conclusion
Local storage should not be used to store sensitive data. This data is stored locally on the browser and not sent to the server. Thus, the data cannot be used to synchronize data on server storage.
Written By:
Joseph Chege
More Related Articles:
-

How to Test Next.js Applications with Jest
Tests are used to describe the expected behavior of a piece of code. Writing tests for your code allows you to ensure applications behave the way we
Aug 1, 2023
-

Using Prisma ORM with Node.js and PostgreSQL
Prisma is a Node.js and typescript ORM. an ORM that means Object Relational Mapping tool that can communicate with databases such as MongoDB, MySQL
Jul 29, 2023
-

Guide to Creating CRUD APIs in Flask
Flask is a web framework for building web applications using Python. It is known for its lightweight and simple design. This makes it easy to get
Jul 28, 2023
-

How to Build and Implement Infinite Scroll in React Apps
Have you ever created an application that serves user data from a backend server or an API? These APIs will have a huge list of data you want to
Jul 28, 2023