A Definitive Guide to Internationalization in React.js using react-i18next
Posted July 20, 2023

Internationalization, commonly refers to as i18n, allows you to develop applications that can quickly adapt to different languages and locales. This typically includes translating text to allow your users to experience other languages. The need for internationalization arises when an application is intended for use in multiple countries or regions, each with its own language Internationalization allows the application to be easily adapted to meet the specific needs of each market without creating a separate version for each.
To implement internationalization React apps, you need the tools and libraries to let you add support for multiple languages so that a global audience can use them. In this guide, you will learn how to use i18next to implement Internationalization in React with exmaples.
Installing NPM i18next Libraries
To configure react-i18next exmaple, you require to install libraries that provide internationalization methods. First, ensure you have created a basic React application using the following command:
npx create-react-app demo-app
This will scaffold a basic react application. Change the directory to the created project directory:
cd demo-app
Within this project, you will need the following libraries:
- i18next: internationalization framework for browser used for providing the standard i18n features. style- i18next-http-backend: an i18next backend used in Node.js projects.
- i18next-browser-languagedetector: an i18n text language detection plugin used to detect user language in the browser.
- bootstrap and react-bootstrap: to style and providing Bootstrap components for React app.
To install the above libraries to your React app, run the following command:
npm install i18next react-i18next i18next-http-backend i18next-browser-languagedetector bootstrap react-bootstrap
Creating react-i18next Translation Files
In this guide, you will create a basic Cafe React app. This application will have support from France, English and Spanish languages. Therefore, you will require creating translation files to load that application content based on user language preference.
i18next uses translation files to store the text that needs to be translated in your app. These files are usually written in JSON format, containing keys and values for each text that needs to be translated.
To create these files, navigate to the public folder and create a locale directory. For example, create an en directory inside the created locale folder to create an English translation file. Inside the en directory, create a translation.json file and add the following content that the application will load that application based user’s English language preference.
{
  "titles": {
    "nav1": "AMAR CAFE",
    "nav2": "Available Dishes",
    "nav3":"Home",
    "title": "Popular Meals",
    "subtitle": "Enjoy the Goodness of a Perfect Meal in the Hood"

  },
  "menu1": {
    "id": 1,
    "title": "Chicken Salad",
    "price": 15.98,
    "img": "./images/item1.jpeg",
    "desc": "Serve a bright plate of goodness with our fuss-free chicken salad, including chicken caesar, satay chicken and warm chicken salads."
  },
  "menu2": {
    "id": 2,
    "title": "Baked Potatoes",
    "price": 13.99,
    "img": "./images/item2.jpeg",
    "desc": "Discover the joys of a simple baked potato with our delicious filling ideas. From creamy cheeses to vegan-friendly toppings, we have something for everyone."
  },
}
To use the images used in the above code, download them from this GitHub repository. Create an images directory inside the public folder. These images should be saved inside the created images directory.
Also, you can go ahead and add more items to your JSON files or check them from this GitHub repository.
You will require the equivalent of the above JSON content in France and Spanish. To add France translation files, create an fr directory inside the public/locale folder. Add the translation.json file inside public/locale/fr as follows:
{
  "titles": {
    "nav1": "dans mon café",
    "nav2": "Plats disponibles",
    "nav3":"Domicile",
    "title": "Repas populaires",
    "subtitle": "Profitez de la bonté d'un repas parfait dans le capot"

  },
  "menu1": {
    "id": 1,
    "title": "Salade de poulet",
    "price": 15.98,
    "img": "./images/item1.jpeg",
    "desc": "Servez une assiette lumineuse de bonté avec notre salade de poulet sans tracas, y compris des salades césar au poulet, du poulet satay et des salades de poulet chaudes."
  },
  "menu2": {
    "id": 2,
    "title": "Pommes de terre cuites",
    "price": 13.99,
    "img": "./images/item2.jpeg",
    "desc": "Découvrez les joies d'une simple pomme de terre au four avec nos délicieuses idées de garnitures. Des fromages crémeux aux garnitures végétaliennes, nous avons quelque chose pour tout le monde."
  },

}
Likewise, create an es folder inside the public/locale folder. Create a translation.json file inside public/locale/es and add the Spanish translations as follows:
{
  "titles": {
    "nav1": "en mi café",
    "nav2": "Platos Disponibles",
    "nav3":"Casa",
    "title": "Comidas Populares",
    "subtitle": "Disfrute de la bondad de una comida perfecta en el barrio"

  },
  "menu1": {
    "id": 1,
    "title": "Ensalada de pollo",
    "price": 15.98,
    "img": "./images/item1.jpeg",
    "desc": "Sirva un plato brillante de bondad con nuestra ensalada de pollo sin complicaciones, que incluye pollo césar, pollo satay y ensaladas calientes de pollo."
  },
  "menu2": {
    "id": 2,
    "title": "Patatas al horno",
    "price": 13.99,
    "img": "./images/item2.jpeg",
    "desc": "Descubra las delicias de una simple patata al horno con nuestras deliciosas ideas de relleno. Desde quesos cremosos hasta aderezos aptos para veganos, tenemos algo para todos."
  },
}
Setting up react-i18next in React App
To use react-i18next, you first need to initialize i18next for your project. This involves creating an instance of the i18next library and configuring it with react-i18next for your React app translations.
Navigate to your project src directory and create an i18n.js. The below code shows how to initialize i18next with react-i18next exmaples.
import i18n from "i18next";
import { initReactI18next } from "react-i18next";
import Backend from "i18next-http-backend";
import I18nextBrowserLanguageDetector from "i18next-browser-languagedetector";

i18n
  .use(
    new Backend(null, {
      //Load // the translations from JSON files and import them
      loadPath: "/locales/{{lng}}/{{ns}}.json",
    })
  )
  // detect user language
  .use(I18nextBrowserLanguageDetector)
  // pass the i18n instance to react-i18next
  .use(initReactI18next)
  .init({
    // The default language to use
    fallbackLng: "en",
    debug: true,

    interpolation: {
      // react already safes from xss
      escapeValue: false,
    },
  });

export default i18n;
The code above will use the i18next-http-backend module to load translations from the JSON files we have created in this project. The I18nextBrowserLanguageDetector module will detect the user’s preferred language in the browser. In this example, i18next will set en (English) as the application’s default language to detect.
The i18n instance created above can be used for any React components to translate text in your application. Let’s now create the React component to display the earlier translation content while allowing i18n to load and display the content in the user language of choice.
Creating react-i18next Component Context API
This application has different languages. The application should be able to remember the language a user had previously selected. This application will use Context API to store these selections.
The Context API shares data and functionality between components without having to manually pass props down the component tree. It allows you to create a context that any component in your app can access. This will be used to share language selections global state.
To use context, create a context directory inside your src folder. Inside src/context create a store.js file. Using the createContext API function, create your language store state as follows:
import React from "react";

// Define the default value for the context
const defaultValue = {
 // Set the default locale as English
  locale: "en",
   // The default setLocale function does nothing
  setLocale: () => {},
};

// Create and export the context object
export default React.createContext(defaultValue);
The context is created with a default value. In this case, an object with a locale field is set to en and a setLocale function. This way, the application will always use en as the default store. The user selections will be stored by setLocale.
Using i18next t() and useTranslation()
i18next provides a t() function and a useTranslation() hook to translate text in a React app. The t() function is a global function used to translate text from anywhere in your app.
The useTranslation() is a React hook used to access the t() function and other i18next functions within a functional component. It returns an object with the t() function.
We will use these two to translate text and other interface elements in React.
First, you need a component that i18next will use to translate its content based on the translation files we created earlier.
Creating a react-i18next Navigation Component
Let’s create a Navigation component. This component will hold the Navbar elements as follows:
To implement the above component, create a component directory inside the src folder. Inside the created src/component directory, create a Navigation.js file as follows:
- Add the necessary imports:
import { useContext } from "react";
import { Container, Nav, Navbar, NavDropdown } from "react-bootstrap";
import { useTranslation } from "react-i18next";
import i18n from "../i18n";
import LocaleContext from "../context/store";
- Create a functional component and name it
Navigation()as shown below:
function Navigation() {
}
Inside the Navigation():
- Set up the
useTranslationhook to translate the text in the Navigation component:
const { t } = useTranslation();
- Load the Context API to store the language selection:
const { locale } = useContext(LocaleContext);
- Create a
changeLocaleto allow users to switch languages while storing the selected language using Context.
function changeLocale(lang) {
  if (locale !== lang) {
    i18n.changeLanguage(lang);
  }
}
The component will use the useContext hook to access the locale value from a context object. It then compares it to the selected language to determine if the language needs to be changed.
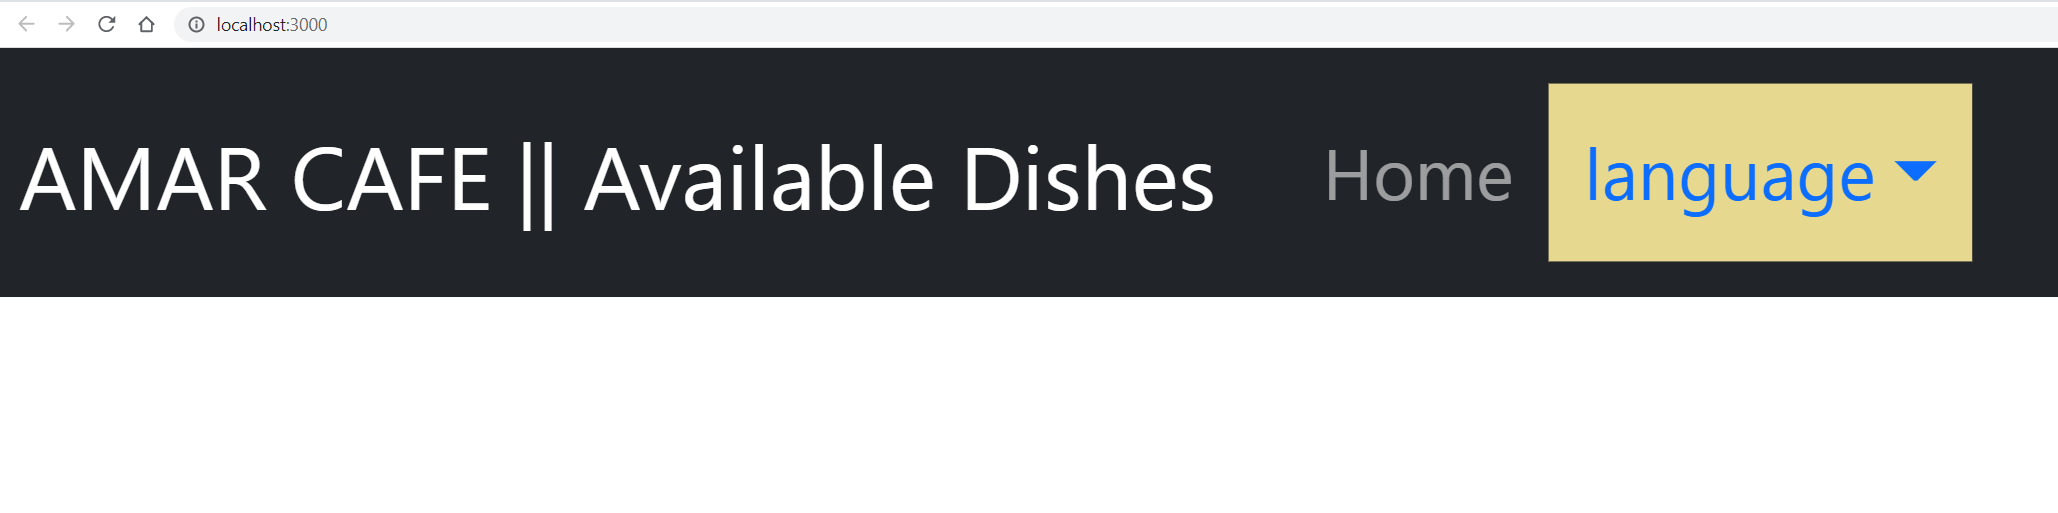
- Render the Navigation component elements as follows:
return (
  <nav class="navbar navbar-expand-lg navbar-dark bg-dark">
    <Container>
      <Navbar.Brand href="###">{t('titles.nav1')} || {t('titles.nav2')} </Navbar.Brand>
      <Navbar.Toggle aria-controls="basic-navbar-nav" />
      <Navbar.Collapse id="basic-navbar-nav">
      <ul class="navbar-nav mr-auto">
      <li class="nav-item active">
      <a class="nav-link" href="###">{t('titles.nav3')} <span class="sr-only"></span></a>
      </li>
        <Nav className="me-auto">
          <NavDropdown title={t("language")} id="basic-nav-dropdown">
            <NavDropdown.Item href="###" onClick={() => changeLocale("en")}>
              English
            </NavDropdown.Item>
            <NavDropdown.Item href="###" onClick={() => changeLocale("fr")}>
              France
            </NavDropdown.Item>
            <NavDropdown.Item href="###" onClick={() => changeLocale("es")}>
              Spanish
            </NavDropdown.Item>
          </NavDropdown>
        </Nav>
        </ul>
      </Navbar.Collapse>
    </Container>
  </nav>
);
Note that the above code loads the navigation elements from the translation files using the t() function. This include:
t('titles.nav1')t('titles.nav2')t('titles.nav3')
The t() function takes the argument with the key of the translation you want to use.
The above component also created a dropdown to select the language. react-i18next loads translations from JSON files based on the user selections. When the component is rendered, it will display a navigation bar with a dropdown menu containing options for selecting the English, French, or Spanish language. The changeLocale function will be called when a language is selected. This will update the language in the i18next instance and trigger a re-render of the component with the updated translations.
- Export the Navigation component:
export default Navigation;
- Finally, you will be required to add some CSS styling to your application. Navigate to this GitHub repository and add the CSS styling to your application
src/index.cssfile.
Switching Between Languages
To switch between languages, you need to execute the created component in your App.js file as follows:
- Add the required imports:
import './App.css';
import React, { useState } from "react";
import i18n from "./i18n";
import LocaleContext from "./context/store";
import Navigation from "./components/Navigation";
import "bootstrap/dist/css/bootstrap.min.css";
- Update the
App()as follows:
function App() {
  const [locale, setLocale] = useState(i18n.language);
  i18n.on("languageChanged", (lng) => setLocale(i18n.language));
  return (
    <div className="App">
      <LocaleContext.Provider value={{ locale, setLocale }}>
          <Navigation />
      </LocaleContext.Provider>
    </div>
  );
}
You can now run npm start and open http://localhost:3000/ on the browser to test this functionality:

Note that we are executing the useState hook to store the current language in the locale state variable. The setLocale function updates the language when it changes. It also registers a listener for the languageChanged event on the i18next instance. This updates the locale state variable when the language changes.
Based on the Application Context, LocaleContext.Provider provide the locale and setLocale values to the rest of the app. This allows the components to access the locale and setLocale values using the useContext hook. i18next will reuse the user selections and ensure the additional component are translated as such. This way, if you create additional components to the application.
Let’s implement this scenario wiht a prefect react-i18next example.
Building a react-i18next Demo Component
This component will display the items from the JSON translation files. Inside the src/component directory, create an Item.js file as follows:
import { useTranslation } from "react-i18next";

function Item() {
  const { t } = useTranslation();
  return (
    <section className='menu section'>
    <div className="title">
      <h2>{t("titles.title")}</h2>
      <br></br>
      <h3>{t("titles.subtitle")} </h3>
      <div className='underline'></div>
    </div>

  <div className='section-center'>
    <article
     key={t("menu1.id")} className='menu-item'>
      <img src={t("menu1.img")} alt={t("menu1.title")} className='photo' />
      <div className="item-info">
        <header>
          <h4>{t("menu1.title")}</h4>
          <h4 className='price'>${t("menu1.price")}</h4>
        </header>
        <p className='item-text'>{t("menu1.desc")}</p>
      </div>
    </article>
    <article key={t("menu2.id")} className='menu-item'>
      <img src={t("menu2.img")} alt={t("menu2.title")} className='photo' />
      <div className="item-info">
        <header>
          <h4>{t("menu2.title")}</h4>
          <h4 className='price'>${t("menu2.price")}</h4>
        </header>
        <p className='item-text'>{t("menu2.desc")}</p>
      </div>
    </article>
    <article key={t("menu3.id")} className='menu-item'>
      <img src={t("menu3.img")} alt={t("menu3.title")} className='photo' />
      <div className="item-info">
        <header>
          <h4>{t("menu3.title")}</h4>
          <h4 className='price'>${t("menu3.price")}</h4>
        </header>
        <p className='item-text'>{t("menu3.desc")}</p>
      </div>
    </article>
    <article key={t("menu4.id")} className='menu-item'>
      <img src={t("menu4.img")} alt={t("menu4.title")} className='photo' />
      <div className="item-info">
        <header>
          <h4>{t("menu4.title")}</h4>
          <h4 className='price'>${t("menu4.price")}</h4>
        </header>
        <p className='item-text'>{t("menu4.desc")}</p>
      </div>
    </article>
  </div>
  </section>
  );
}

export default Item;
Navigate to your App.js file and add the following necessary imports:
import { Container } from "react-bootstrap";
import Item from "./components/Items";
Edit the App() return function to render the Item component within the context provider as follows:
return (
  <div className="App">
    <LocaleContext.Provider value={{ locale, setLocale }}>
        <Navigation/>
        <Container>
        <Item/>
        </Container>
    </LocaleContext.Provider>
  </div>
);
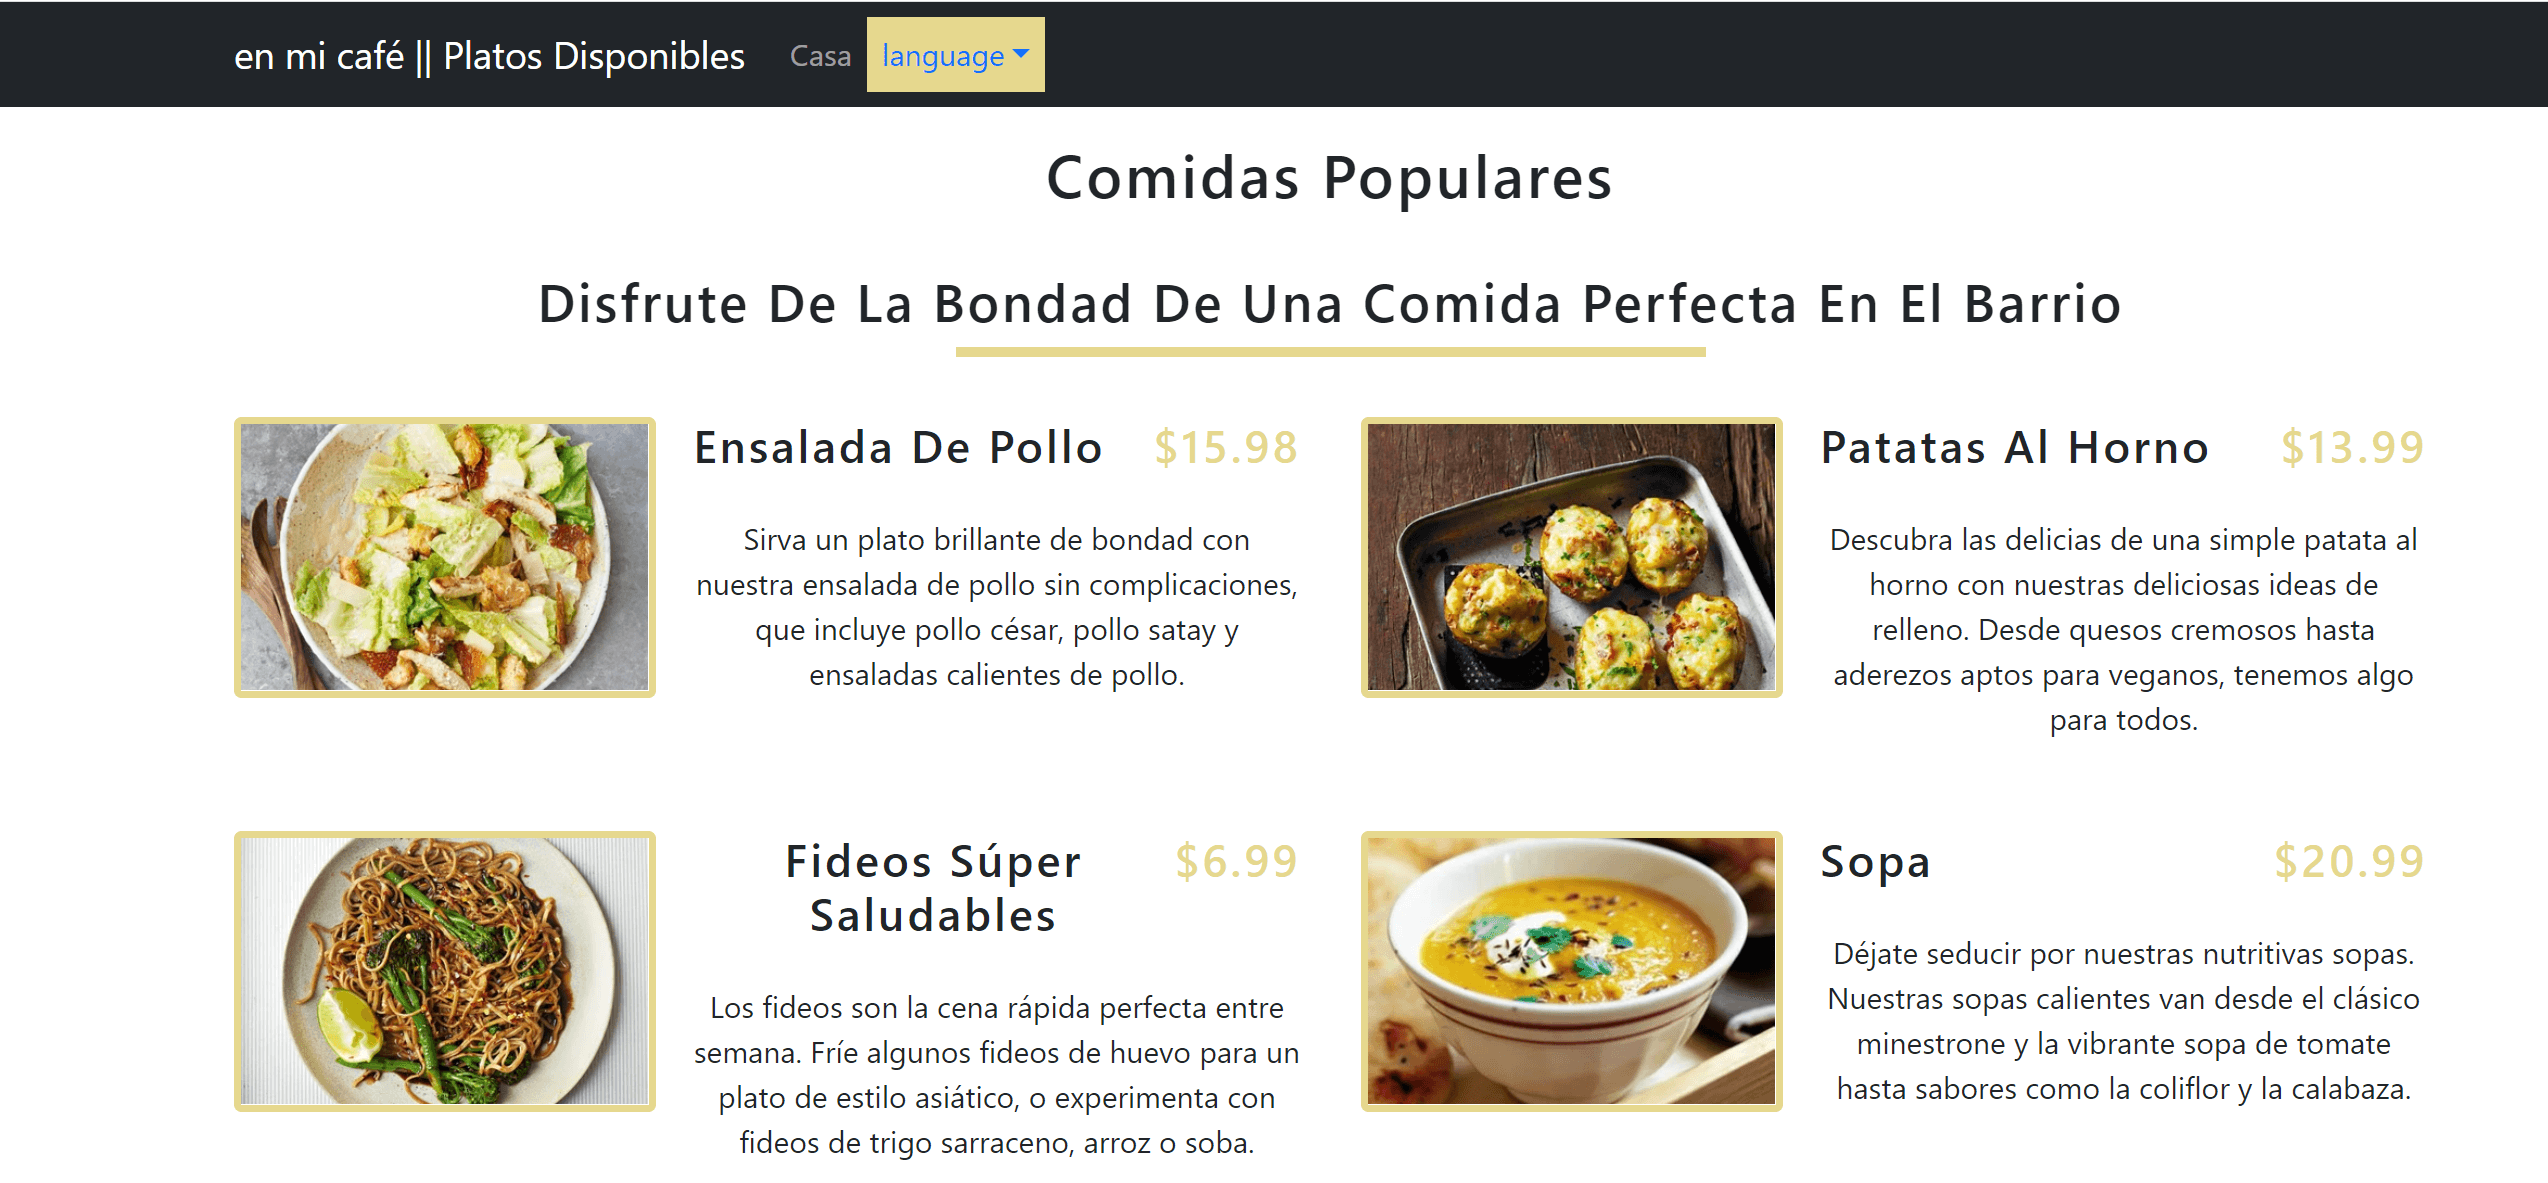
Testing your react-i18next Example App
At this point, your application should be similar to the following:

Now you can go ahead and switch the application language and test if i18n is working correctly:
Do you want to take your React skills to a new height? Learn How to Build and Implement Infinite Scroll in React Apps. Get crazier learning this Complete Guide to Creating Flask APIs with React apps.
Conclusion
react-i18next is a popular library for internationalizing React apps. It provides a set of components and functions that make it easy to add support for multiple languages to a React app. This guide has used react-i18next to implement internationalization in React. You can check the code used along this guide on this.
Written By:
Joseph Chege
More Related Articles:
-

How to Create reCAPTCHA V2 With Google Captcha and React
CAPTCHA (Completely Automated Public) is a challenge-response test used to determine whether or not a user is human or a bot. CAPTCHAs are used as a
Aug 23, 2023
-

The Complete Guide to Creating Flask APIs with React apps
Integrating a Flask with a React involves setting up communication between the two using HTTP requests to send and receive data. You will create a
Jul 31, 2023
-

Consuming GraphQL API with React.js
GraphQL is a query language that allows clients to request exactly the data they need and nothing more. This approach is more efficient than REST.
Jul 29, 2023
-

How to Build and Implement Infinite Scroll in React Apps
Have you ever created an application that serves user data from a backend server or an API? These APIs will have a huge list of data you want to
Jul 28, 2023