Guide to Deploying React Apps to Kubernetes Using Docker
Posted July 27, 2023
The concept of Containers and Containerization helps you run the application as lightweight virtual machines. As a Web Developer, setting up local development environments can be tiresome. Using infrastructures such as Docker and Kubernetes gives a developer an upper hand to quickly set up and deploy applications. This guide uses Docker to deploy a React app to Kubernetes.
Essentials
Before you proceed with this tutorial, ensure you have the following tools ready:
- Node.js installed on your computer.
- Docker installed on your computer.
- Minikube for creating Kubernetes Cluster installed on your computer.
- Kubernetes command-line Kubectl tool installed on your computer:
Setting up Minikube and Kubectl
To correctly run these tools:
- First, ensure your installed Docker is up and running.
- Install Minikube using any of these installation options. Then run the installed Minikube using
minikube startcommand. This will download the necessary images needed to execute Minikube using Docker. - Install Kubectl ensuring you are following the Kubectl installation guidelines.
While setting up Kubectl, remember to add Kubectl binary folder to your PATH environment variable. Check this guide to set up Kubectl binary folder and PATH correctly.
- Once the path is correctly configured, run the following command to confirm if Kubectl is properly configured:
kubectl cluster-info
Set the React application
First, we need to create a React app. Create a React application just as you would have done it with any React-based project.
First, create your project folder where you want the React app to live. Change directory to this newly created folder. Then scaffold a React application using the create-react-app and npx as follows:
npx create-react-app my-react-app
You can go ahead and check more command tags you can use. For example, the package manager you want to use. Or if you want to run React with typescript. Check this guide for more insights.
Once the above command is executed and React application is created, access the newly created directory:
cd my-react-app
Then run this command to test if the created app is working correctly.
npm start
Test the application on the browser using the localhost URL:
http://localhost:3000/
This should serve you a basic React app. You can use the created application to progressively build any extensive application of your choice.
Write the Dockerfile
A Dockerfile sets the instructions on how to run the application on Docker. A Docker command will access the instructions written on a Dockerfile and spin up a Docker image to host the application on Docker.
The application we have built is currently running locally. To ship the application to Docker, we need to make sure every file needs to run and the command to execute the application is within Docker.
To do this, go ahead and create a Dockerfile file at the root directory of your React application. Then write the Docker instructions as follows:
- Set the application base image. In this case, React runs on Node.js. Therefore, we need a Node.js image from the Docker hub. This is the application image from which the application runs on, just as it would locally:
# set the base image to build from
FROM node:alpine
Docker support different Node.js images with different tags and versions. Check Docker Hub to get different Node.js Image Variants for your Dockerfile.
- Create a working directory. This is the working folder from which the app will be run on inside the container:
# set the working directory
WORKDIR /app
- Copy the dependencies files to the app directory
# copy package files
COPY package.json ./
COPY package-lock.json ./
- Run the install command to install the dependencies to the Docker app directory:
# install dependencies
RUN npm install
- Copy all the project files to the Docker app directory:
# copy everything to /app directory
COPY ./ ./
- Add a command to run the application inside the Docker container:
# run the app
CMD ["npm", "start"]
Also, you can add a .dockerignore file. This allows you to add files and folders you don’t want to copy to Docker, such as the node_modules folder. Go ahead and add to the .dockerignore file.
node_modules
.git
npm-debug.log
Dockerfile
In case you want to work with a ready-for-production image, you need to build a production codebase. Run the following command inside the React directory:
npm run build
Then use Nginx to serve your application with the following Dockerfile:
FROM nginx:alpine
COPY build/ /usr/share/nginx/html
Running the React App on Docker
Once the installation is ready, build a Docker image for this application using the following command.
docker build -t <your-image-name> < Dockerfile filepath>
In this case, the command will be:
docker build -t react-app .
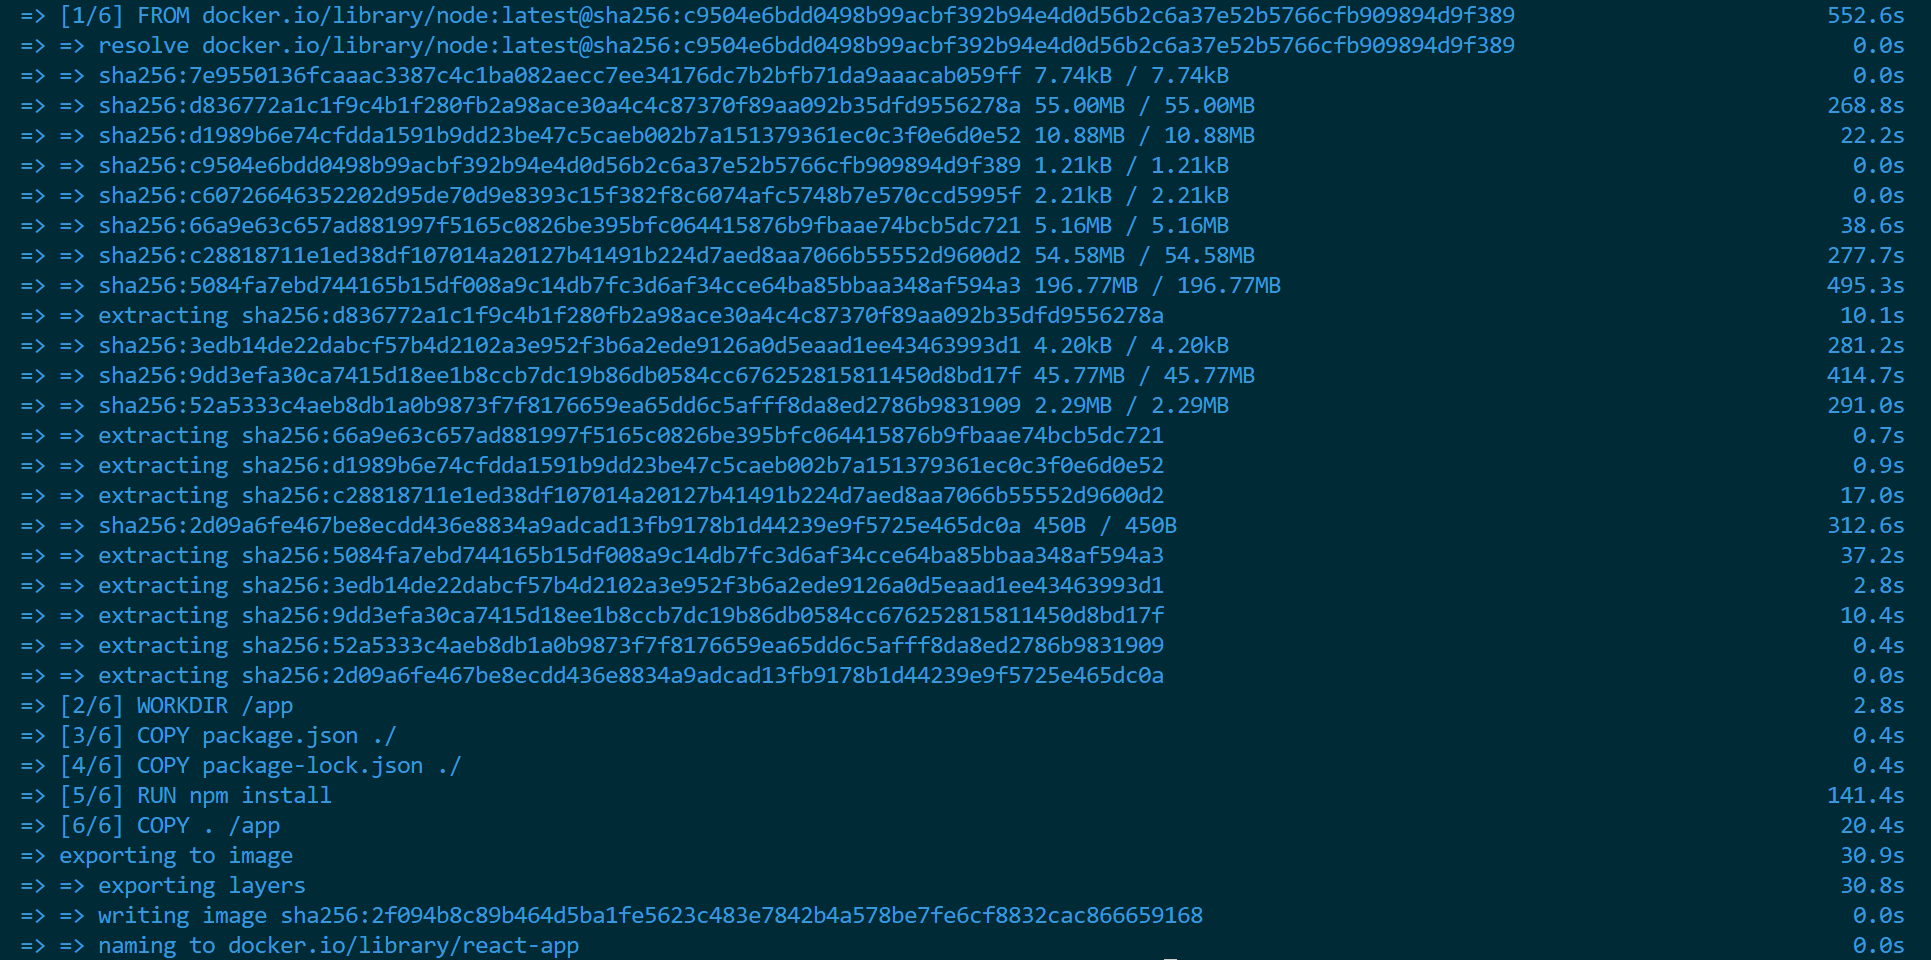
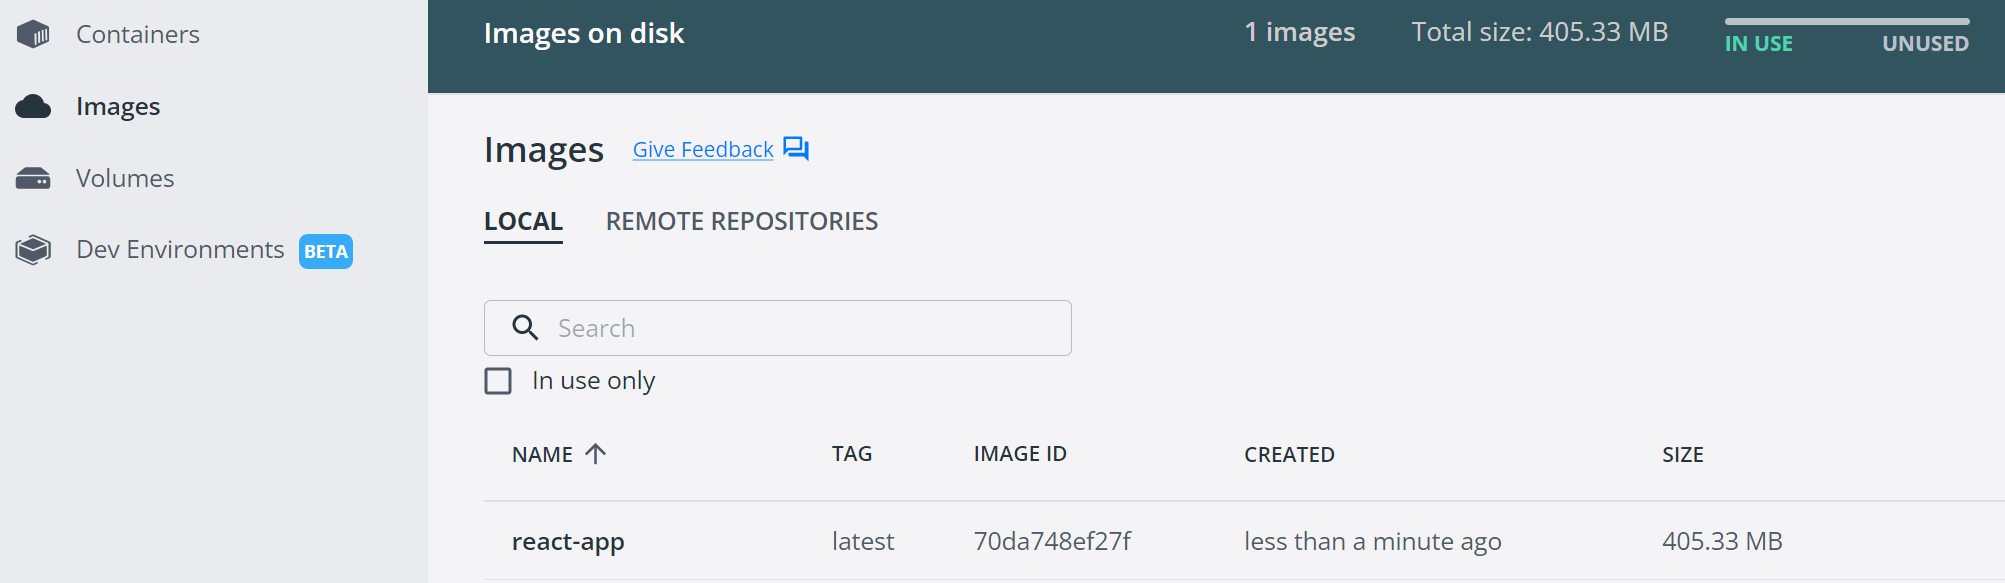
This will create an image in Docker based on the Dockerfile. The process may take some time based on your internet speed. The created image will be available in your Docker.
To test if this image is working correctly inside Docker, run a container to execute the image as described in the following command:
docker run -it -p <Your app Docker image port>:<Your app container Host port> <Your created-docker-image-name>
The final command should be:
docker run -it -p 4000:3000 kimafro/react-app
This will build a container that runs this application. You can test the application using the local URL of your app container Host port, which is 4000 in this case.
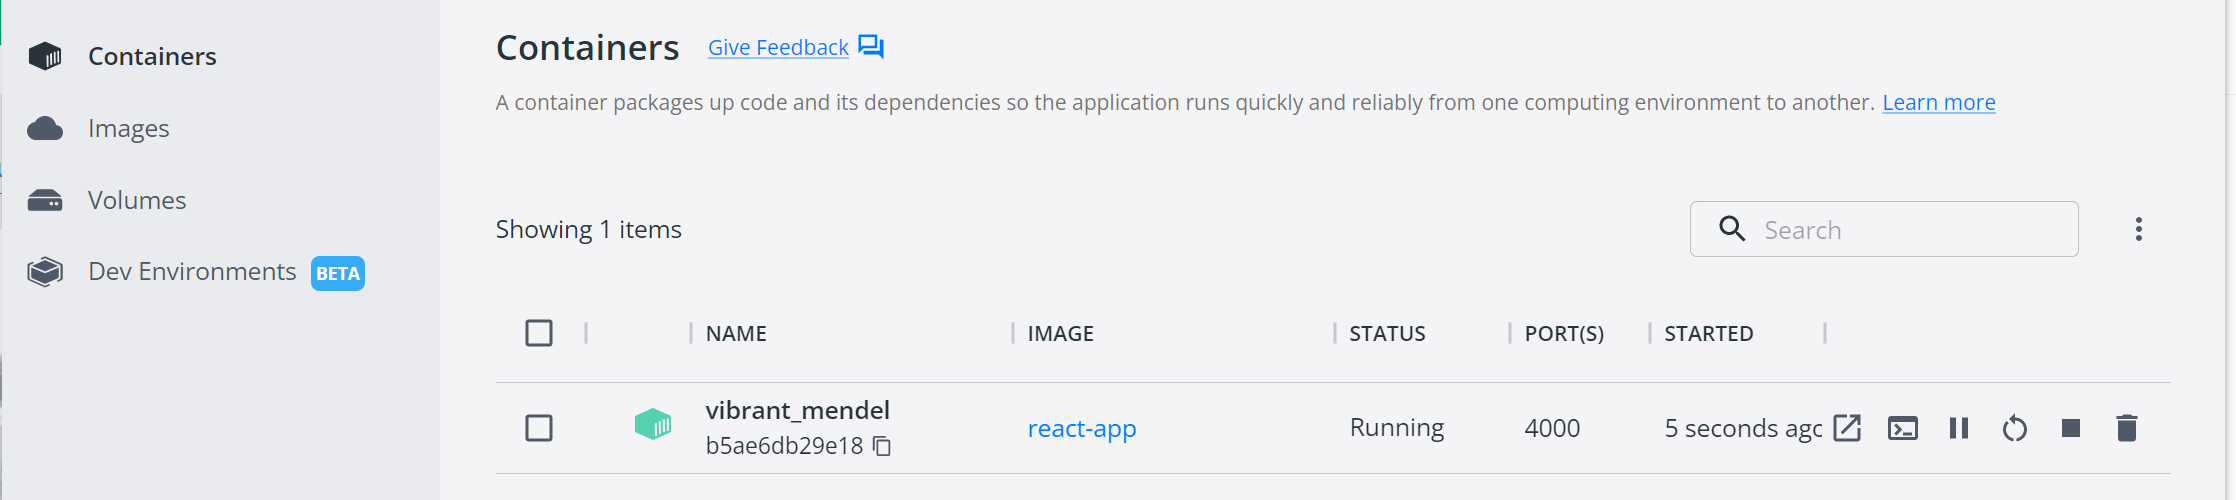
Open http://localhost:4000 in a browser and you will be served with a dockerized React app.
Let’s dive in and run the created image using Kubernetes. There are two ways to build your Docker images in Kubernetes. These are:
- Using Docker Hub deployed image. To use this option, you need to push your image to the Docker registry.
To push your image, first log in to your Docker registry (Create a new account if you haven’t set one). Then run the following command:
docker login
Provide your Docker Hub username and password. If this process was successful a Login Succeeded message will be printed on your terminal.
Then build the image using your Docker Hub username as demonstrated in the following Docker push command:
docker build -t <docker-hub-username>/react-app
Here ensure you set your Docker Hub username. For example:
docker build -t kimafro/react-app .
Finally, push the image to Docker Hub:
docker push <docker-hub-username>/react-app:latest
For example:
docker push kimafro/react-app:latest
- Using locally built Docker image. Here you instruct Kubernetes to pull the image from the local machine.
In this guide, we will use an image deployed to the Docker Registry. To build your Kubernetes using the local image, check this guide and learn the right steps to run local Docker images in Kubernetes
Deploying the Docker Image to Kubernetes
The Docker image is ready and it’s working as expected. Let’s deploy it to a Kubernetes cluster. First, create a Kubernetes deployment file. On your React app root directory, create a deployment.yaml and add the following configurations:
- Add deployment configurations:
apiVersion: apps/v1
kind: Deployment
metadata:
  name: react-app
- Set up the Number of Pods to run and the access to the Docker image and container:
spec:
  replicas: 1
  selector:
    matchLabels:
      app: react-app
  template:
    metadata:
      labels:
        app: react-app
    spec:
      containers:
        - name: react-app
          image: kimafro/react-app:latest
          imagePullPolicy: Always
          ports:
            - containerPort: 4000
---
Note that the name is the name of the image we created earlier. The image name should start with your Docker Hub username where you pushed the image. Make sure you copy the name to this file accordingly. Also, ensure the container Port is set as the <Your app container Host port>. In this case, we used port 3001
- Add the Deployment service configurations:
apiVersion: v1
kind: Service
metadata:
  name: react-app
spec:
  type: NodePort
  selector:
    app: react-app
  ports:
    - port: 3000
      protocol: TCP
      targetPort: 3000
      nodePort: 31000
- Now go ahead and open a command line and run the following to ensure the minikube is running:
minikube start

- Then create a deployment using the
kubectlcommand:
kubectl apply -f deployment.yaml
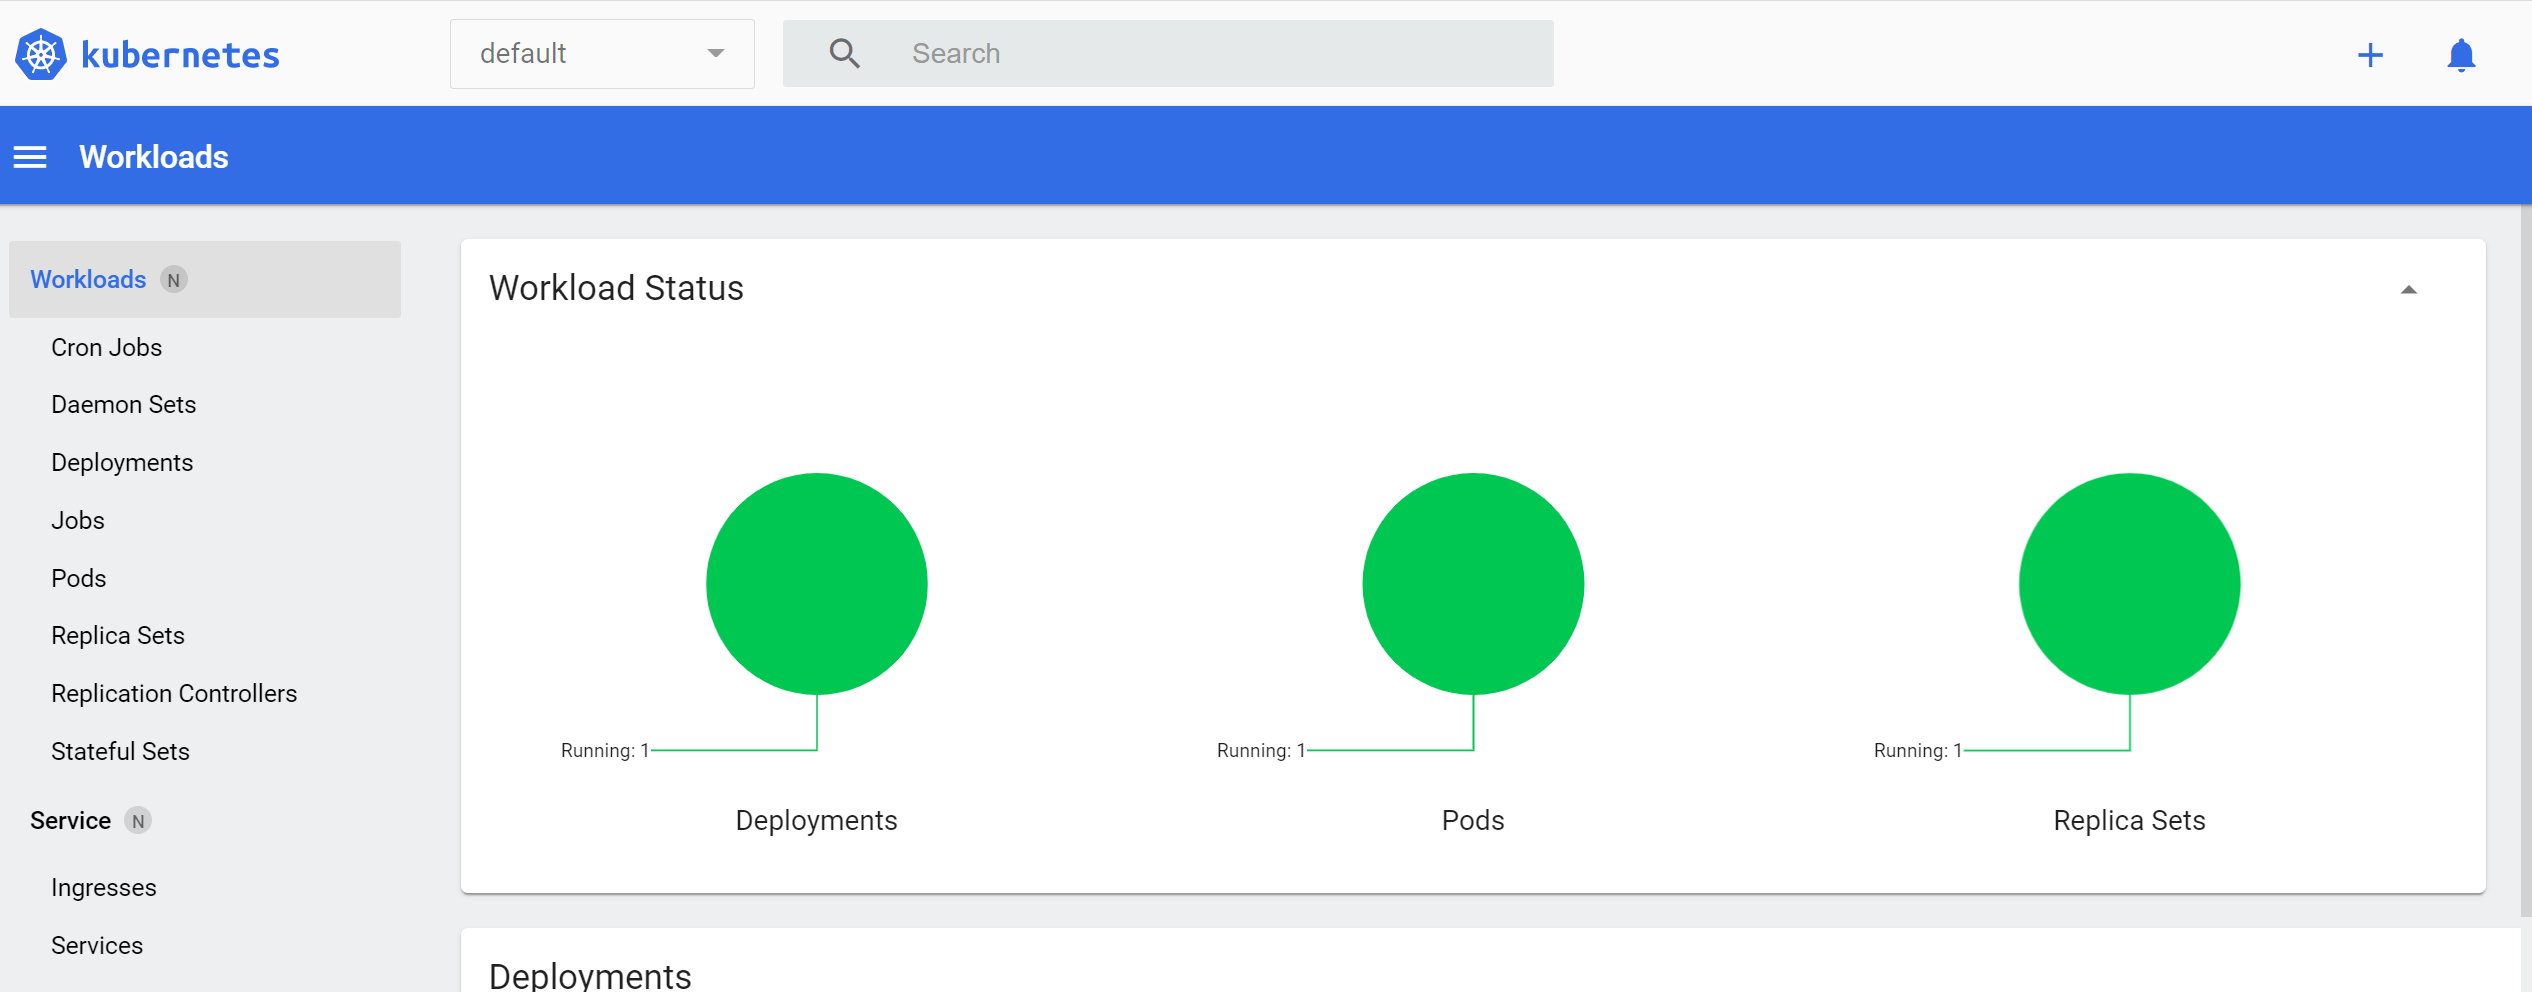
- Once done, check that the deployed app is running on the set deployment pod:
kubectl get pods
- Confirm the deployed service is up and running:
kubectl get service

react-app-6bccbdb7d-ct9wc       1/1     Running   0          91s
react-app-6bccbdb7d-kbtm5       1/1     Running   0          6m22s
Alternatively, you can run the following minikube command to get a UI that will let you manage your deployments, services, and pods:
minikube dashboard
- Finally, access the Kubernetes deployed application service:
minikube service react-app
http://127.0.0.1:2376
Congratulations on Deploying React Apps to Kubernetes Using Docker. Become an even more proficient React DevOps engineer and deploy apps to the cloud in this Kubernetes CICD pipeline using GitHub Actions and EKS guide. You can get more outlandish Confidently Automating Kubernetes to AWS EKS Cluster Deployment with Terraform. Happy containerizing!
Conclusion
Do you want to take your React skills to a new height? Learn How to Build and Implement Infinite Scroll in React Apps. Get crazier learning this Consuming GraphQL API with ReactJS Definitive guide.
More Related Articles:
-

Confidently Automate AWS EKS Cluster Deployment with Terraform
AWS EKS is a fully managed Kubernetes service for AWS that simplifies the deployment, scaling, and management of containerized applications using
Jul 26, 2023
-

Deploy Kubernetes CICD pipeline using GitHub Actions and EKS
In this tutorial, you will go through the steps of automating Kubernetes deployment with GitHub Actions. This guide will teach you how to create a
Jul 26, 2023
-

How to Minimize and Slim Docker Images - Docker Image Optimization Strategies
Ensuring you have light Docker images speeds up the build and deployment of your Docker containers. There are approaches you can add while building
Jul 19, 2023
-

How to Create reCAPTCHA V2 With Google Captcha and React
CAPTCHA (Completely Automated Public) is a challenge-response test used to determine whether or not a user is human or a bot. CAPTCHAs are used as a
Aug 23, 2023